nopCommerce is one of the free and open-source eCommerce platforms that you can instantly publish and go online with. Please follow the below steps to publish nopCommerce using IIS
Download nopCommerce. If you are not going to develop the suite further, better download package without source code.

Unzip the package.
Based on your choice, you can move this folder to C:\inetpub\wwwroot\. For example, I renamed the folder and current path for nopCommerce is C:\inetpub\wwwroot\nop
You can have this folder anywhere in your computer. Just make sure that you changed the permissions as specified below. Full control is only recommended for development environments.
The most important element of publishing nopCommerce successfully is how you setup the folder access to IIS_IUSRS. Right click on the folder and change the permissions to either Full Control or Read, Write. Failing will fail the nopCommerce suite from launching. You will keep getting “HTTP Error 500.30 – ASP.NET Core app failed to start” until you change the folder permissions.

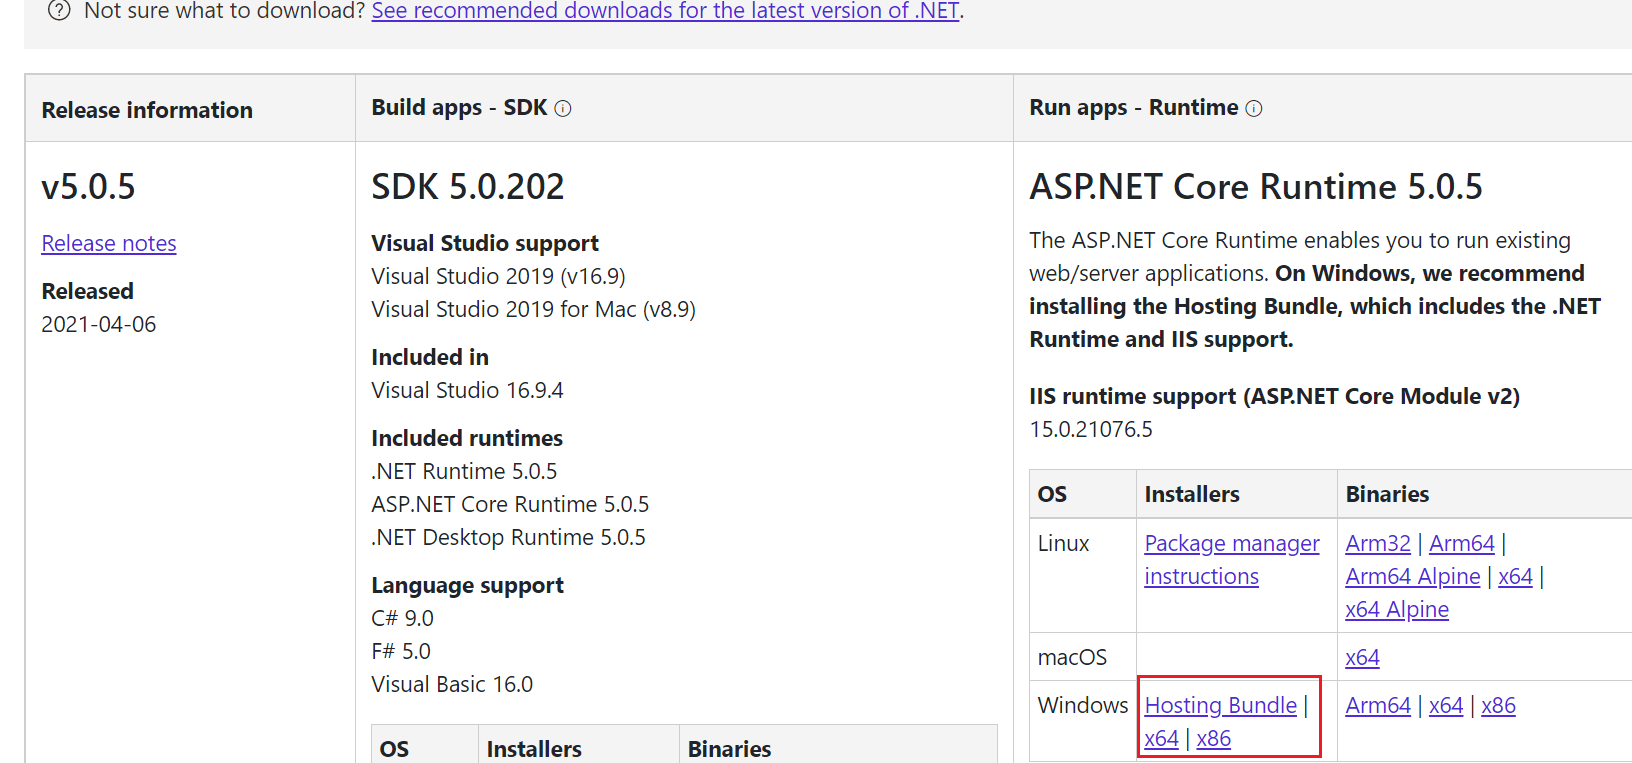
Now, install DOTNET Core Hosting Bundle. While writing this article, the latest stable version was 5.0.5 and you can download the same from here. Just make sure that you download the correct Hosting Bundle.
Install the bundle, that takes hardly couple of minutes. Once the bundle is installed, restart the IIS service.
Create a database on your SQL Server, exclusively dedicated for nopCommerce. You have to provide these details while setting up nopCommerce for the first time. You may skip creating the database yourself, as the installer offers to create a new database during the installation. However, you must be ready with the connection credentials. nopCommerce supports both integrated security and user/password based security approaches.
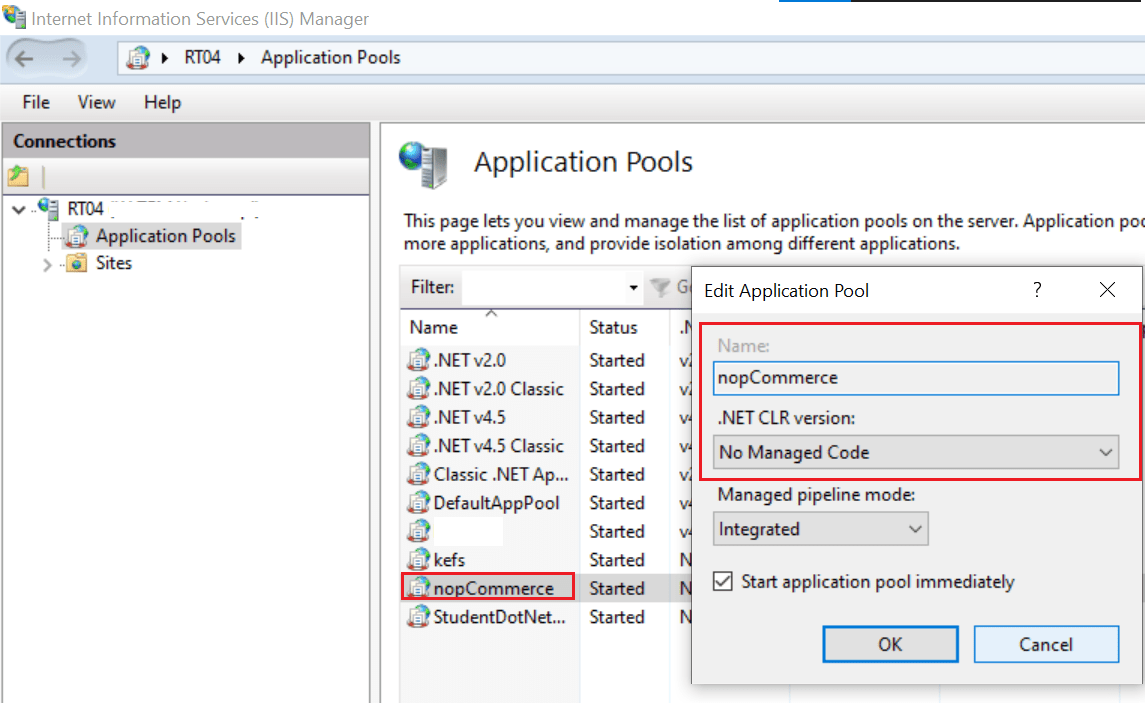
Create a new Application pool. Make sure the Application pool has .NET CLR Version set as “No Managed Code”. I can confirm that nopCommerce works with .NET CLR Version set as well. However, all the documents are asking you to setup “No Managed Code”
Finally you can publish nopCommerce. You can either publish nopCommerce as an application with an existing website or create a new website and publish it. For my development machine, I opted to publish it with existing website.

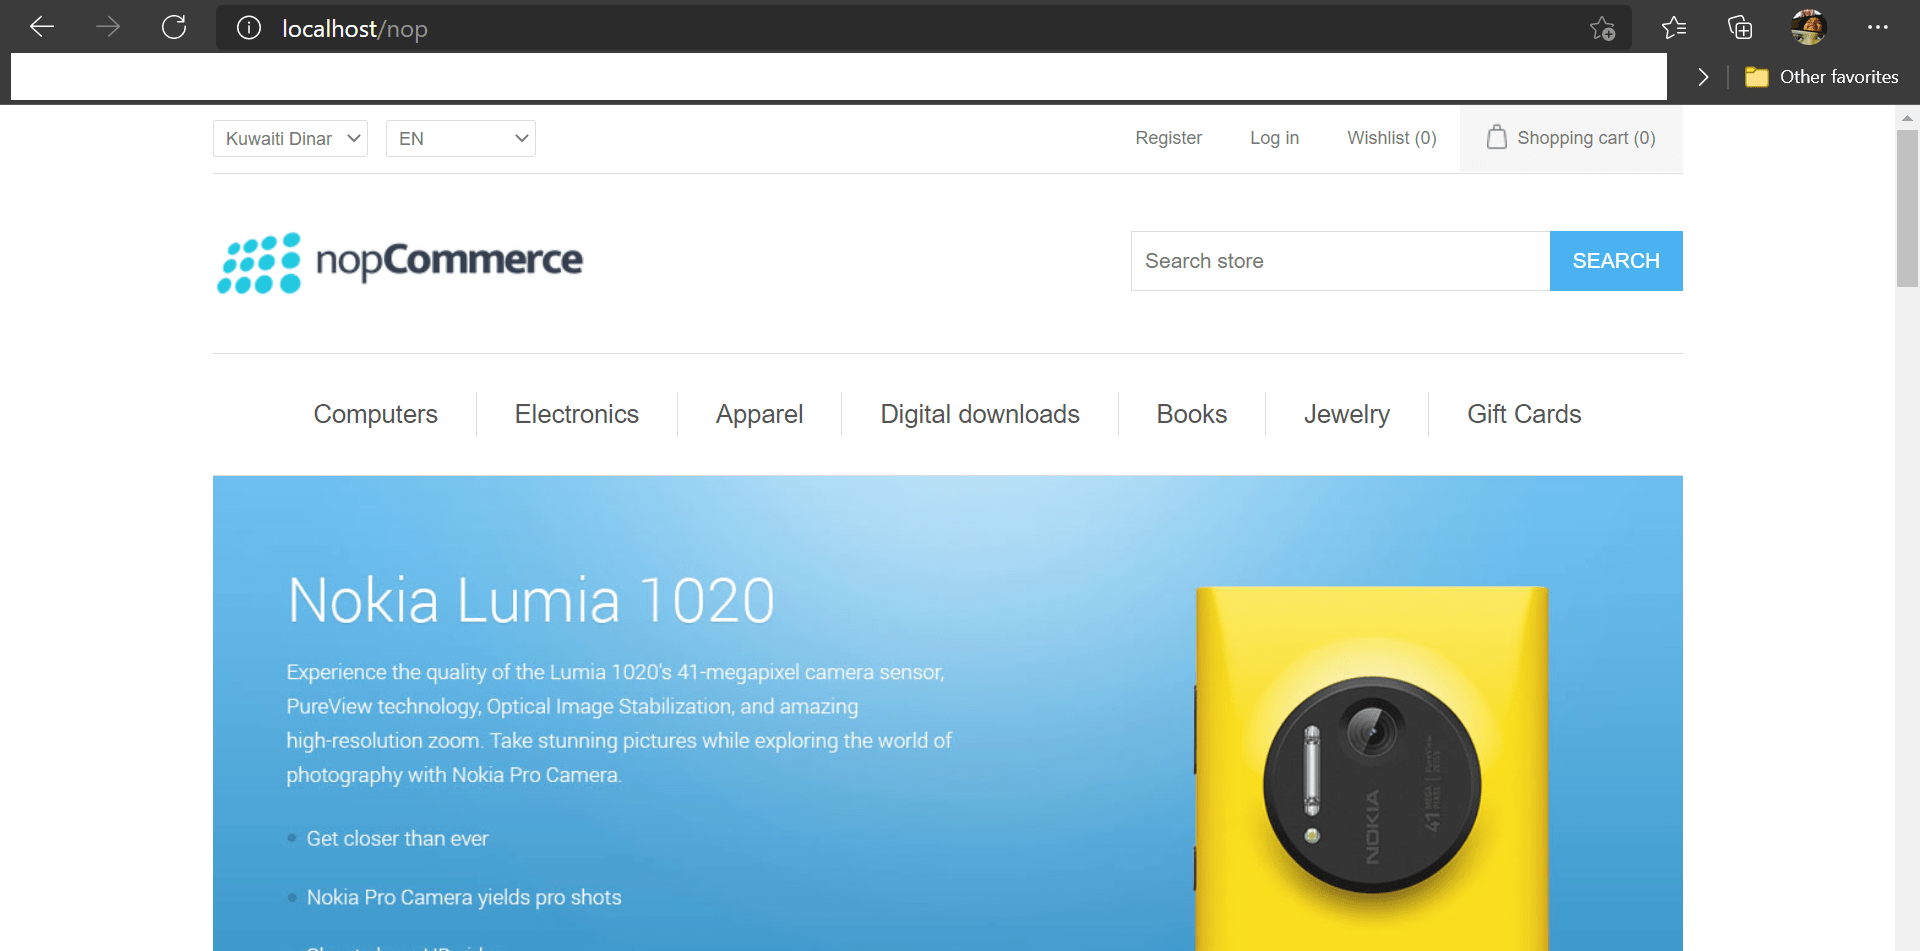
Open your favorite browser and point to http://localhost/nop or http://localhost based on how you published the application & you must be taken the nopCommerce installation. Follow the instructions & I suggest you to select sample items during installation. This will give you an idea of how the items are presented over your portal. You can remove those sample items anytime. Make sure that you will enable the https switch in the application before implementing https for the application with IIS.