KB5066835 update fails to install. It just keeps on failing to install after multiple attempts. One of the most efficient methods to resolve this problem quickly is to rename the Windows\SoftwareDistribution folder & run the Windows update once again.
Steps
Stop the Windows Update Service from Windows Services
Stop BITS
Go to Windows folder, rename SoftwareDistribution folder to softwaredistribution.old or softwaredistribution.littlejoe (up to you). You may asked for Administrative confirmations.
Restart Windows
Check for updates or click the retry button and everything should be fine now.
Applies on both Windows 10 and Windows 11 distributions while the update with issues is specific to Windows 11.
Did you start experiencing a popup at random intervals asking you to sign-in while using Microsoft Office products? Ironically, you are not a 365 Office customer!
As a business, we buy OEM Office products with purchase of every new PC and maintain multiple versions. We’ve the Office updates enabled for all users, and recently (and luckily) I started experiencing the random sign-in popup while using Microsoft Outlook (office suite). To my utter dismay, I realized that none of the accounts, be corporate or Microsoft live/outlook were accepted for this purpose.
The error is always “This username may be incorrect. Make sure you typed it correctly. Otherwise, contact your admin” and definitely trying to sign on to a 365 account!
There are dozens of inquiries with Microsoft Answers about this behavior and sets of instructions, most of which were suggesting to disable Autodiscover by altering the registry.
I was able to fix my issues by altering the registry (don’t know whether really required) and dropping the existing Outlook profile. Let me walk you through the procedures, hope it might help you also!
Modify the registry. Please note, if you are not familiar with registry modifications, kindly seek assistance from someone who knows what he/she is doing.
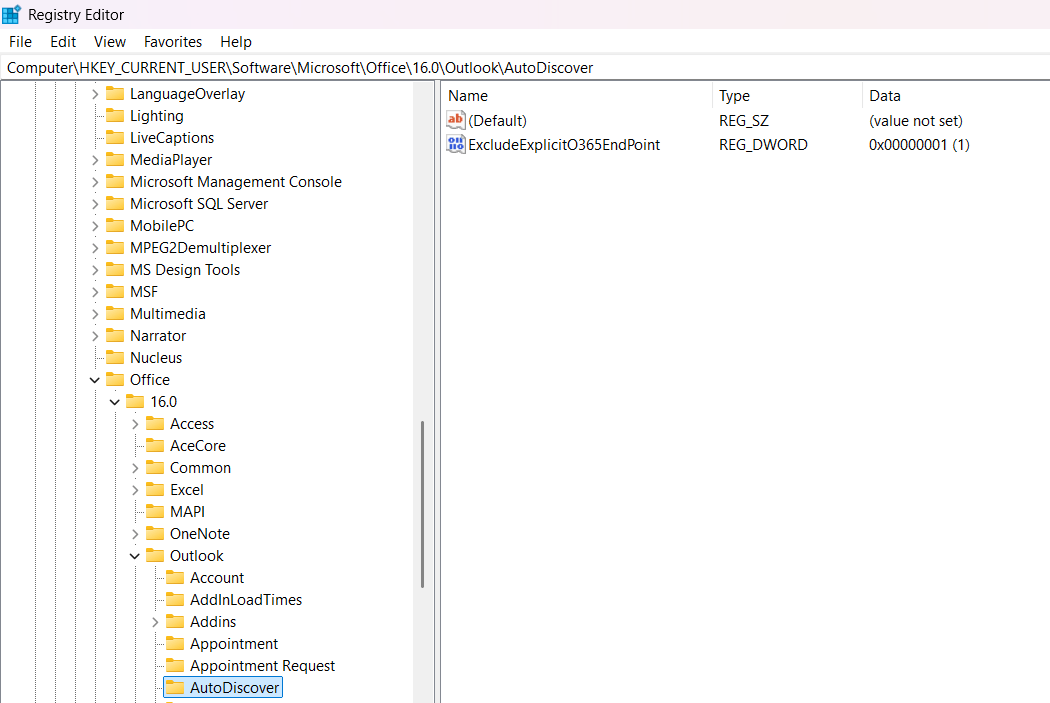
Open Registry Editor and browse to “Computer\HKEY_CURRENT_USER\Software\Microsoft\Office\16.0\Outlook\AutoDiscover”. Add a DWORD 32-bit key “ExcludeExplicitO365EndPoint” with value “1”. Please note based on the version of your office product, the version number might change. Adjust the path accordingly.
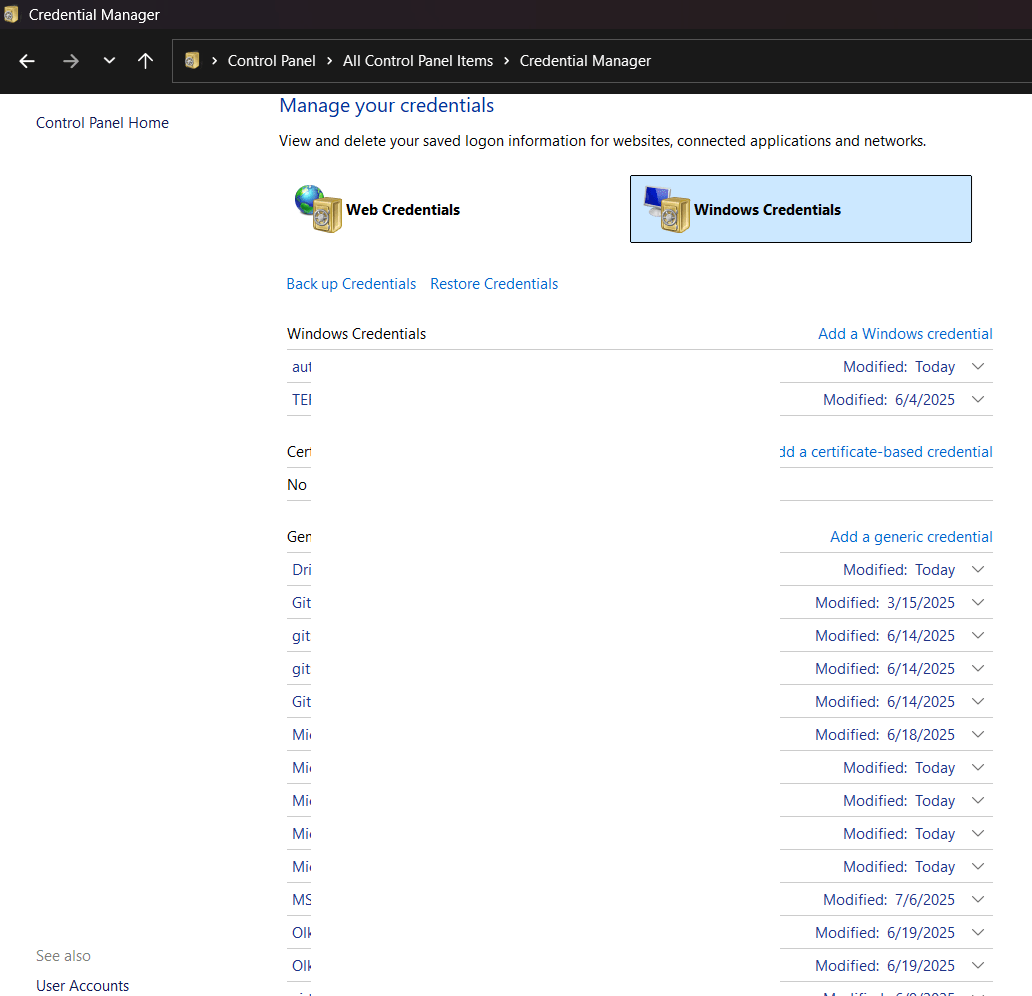
Using Control Panel, access Credential Manager->Windows Credentials & remove all entries you could find for the Microsoft account that you have used for registering your OEM copy of the Office software. Once again, whether this has any significance, I am not sure. I did this as a part of one of the suggestions from Microsoft Answers.
Remove your existing Outlook profile. Please make sure that you will take backup for your PST files if your email settings are configured for downloading all messages to local personal folders.
Restart your computer.
Create a new profile using Control Panel->Mail without adding an email address. Start outlook and follow the wizard. Do not forget to check the box “Let me set up my account manually”. Below 2 images were copied from https://www.gmass.co/blog/outlook-smtp/ as I forgot to save the images while I was setting up my account.
Please note, the whole exercises mentioned here are for a Local exchange server set up. Select “Exchange” if you are using Exchange Server 2016 or later. Exchange Server 2019 should be the final edition of mail server Microsoft is planning to support on-premise.
Follow the Wizard and you should be connected without troubles, especially if you are connected to the corporate network directly or through VPN. Over the internet, you may have to try multiple times as the “Autodiscovery” could interfere with the attempts.
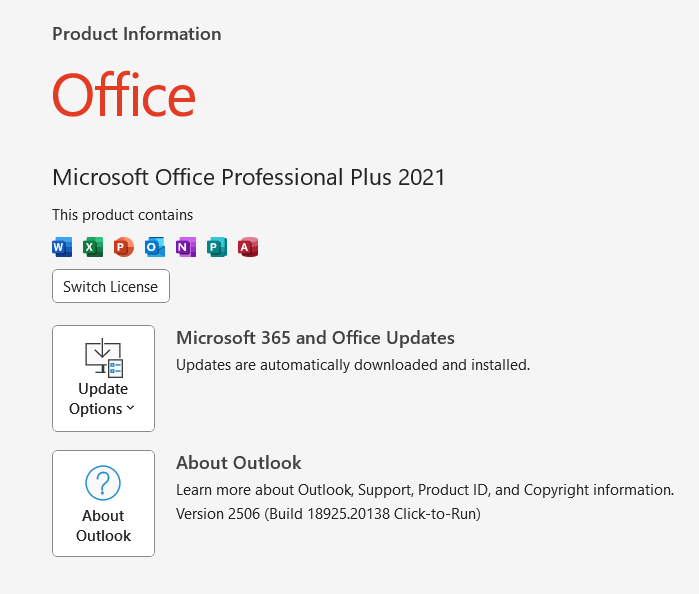
Once the account is added, please confirm few details. For the Office version 2021 the top right corner which used to show your Microsoft account details should start showing your corporate account details
File->Office Account area also start showing your Corporate account details instead of Microsoft account(s)
You connect a removable disk to your Windows box, immediately the drive is assigned a letter. If you have multiple partitions on the disk, each partition will get a drive letter, and it’s how Windows work. This could cause some kind of annoyance when these disks are constantly disconnected for others and reconnected. One tricky solution to this is, assigning a drive letter like W,X,Y as Windows assigns the first free drive letter to the newly connected disk which is in the alphabetical order. Lack of functionality to reserve a drive letter for a particular device could add more troubles when batch files or PowerShell scripts totally depend upon drive letters for a successful execution, example a backup.
Today we will see how to use volume ids instead of drive letters for Windows robocopy, one of the best free backup tools that you could ever find.
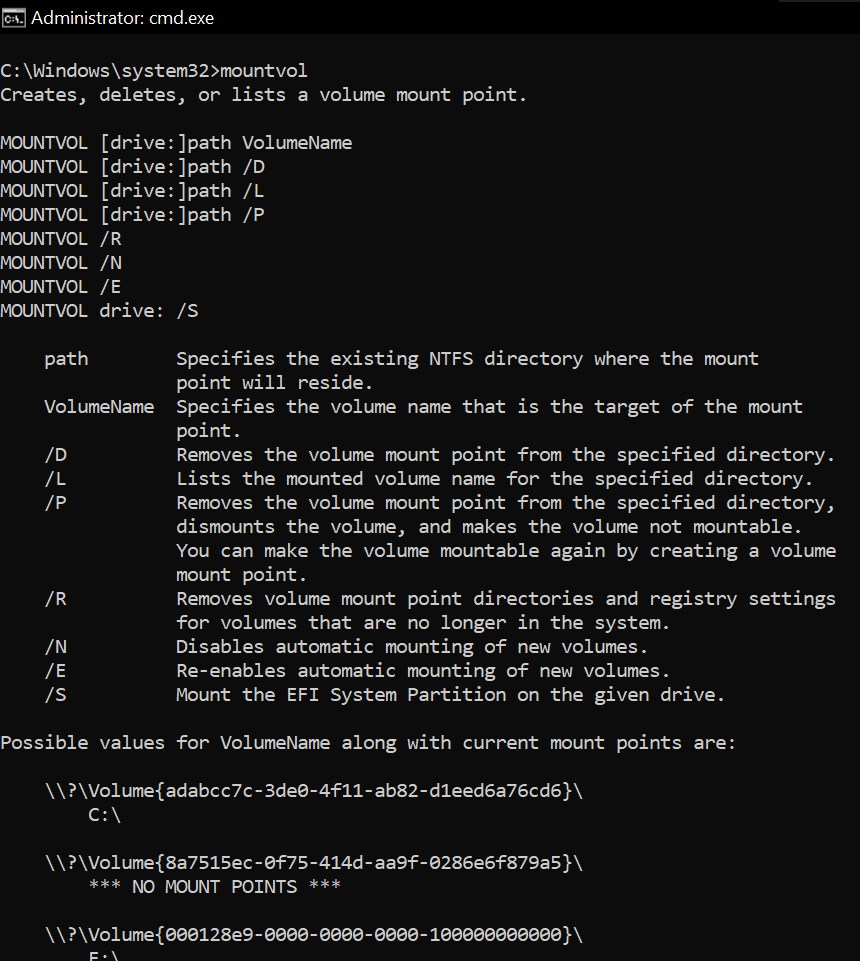
Open command prompt as administrator and execute the command “mountvol”. Immediately after few help text, the output will show the ids for all the volumes currently present.
Copy the Volume Id for the drive letter which is your target/source. Modify the backup.ps1 as given below example!
#Author: Rajesh Thampi
#Date: Few years back
#Last modified on: 14th June 2025
#Partner-in-crime: Microsoft Copilot

<#
Hint
Use "mountvol" command at prompt to get the currently connected disks and their volume ids, drive letters
Get the volume id for the drive letter, replace below.
Volume Id will change when you format the disc next time.
The escape character is ` not ' after the variable $DriveLetter
#>

$VolumeID = "Volume{d2540346-9901-49e9-9f57-413d95f52744}"  # Replace with actual Volume ID
$DriveLetter = Get-Partition | Where-Object { $_.AccessPaths -match $VolumeID } | Select-Object -ExpandProperty DriveLetter

if ($DriveLetter) {
    Write-Output "Drive Letter: $DriveLetter`:\KeepACopy"
} else {
    Write-Output "No matching drive letter found for Volume ID: $VolumeID"
}


$DestinationPath="E:\ERP-Inhouse Developments"
$SourcePath="$DriveLetter`:\ERP-Inhouse Developments"
$logfile = "C:\Scripts\logs\Inhouse_Developments_$(Get-Date -Format 'yyyy-MM-dd_HH-mm-ss').log"

robocopy $SourcePath $DestinationPath /MIR /ZB /R:5 /W:10 /LOG:$logfile


$DestinationPath="E:\MyProjects"
$SourcePath="$DriveLetter`:\MyProjects"
$logfile = "C:\Scripts\logs\MyProjects_$(Get-Date -Format 'yyyy-MM-dd_HH-mm-ss').log"

robocopy $SourcePath $DestinationPath /MIR /ZB /R:5 /W:10 /LOG:$logfile


$DestinationPath="E:\KeepACopy"
$SourcePath="$DriveLetter`:\KeepACopy"
$logfile = "C:\Scripts\logs\KeepACopy_$(Get-Date -Format 'yyyy-MM-dd_HH-mm-ss').log"

robocopy $SourcePath $DestinationPath /MIR /ZB /R:5 /W:10 /LOG:$logfile

#Finally cleanup the log directory, deleting all files that are more than 5 days old.
#This is useful incase if you are regularly using the script with a scheduled job.
Get-ChildItem 'C:\Scripts\logs' -Filter '*.log' | Where-Object { $_.LastWriteTime -lt (Get-Date).AddDays(-5) } | Remove-Item
Adjust your scripts based on your requirements. Now, you don’t have to worry about the drive letter changes anymore. Just plug your removable disk, execute the PowerShell script as administrator and you are all good.
Just make sure that you have set the PowerShell Execution Policy properly before trying to run scripts.
I never ever used the Windows Airplane mode. Basically, as a developer, I hardly ever thought of being disconnected. Then one fine day I wanted to try it, so enabled it and was still able to browse and carry on with much of my “network” related activities as the built-in Windows “Airplane” mode only deals with “wireless” devices. Your Wi-Fi and Bluetooth connections are toggled when you enable/disable the mode, leaves alone the physical connections, like ethernet. I thought of something more & here is a home grown true “Airplane” mode enabler ;). Copy the code to a PowerShell script file & run it as administrator. Don’t be too excited and try it from a remote connection.
# Get all network adapters that are enabled
$enabledAdapters = Get-NetAdapter | Where-Object { $_.Status -eq "Up" }
# Count the number of enabled adapters
$enabledAdapterCount = $enabledAdapters.Count
# Output the result
<#
$wshell = New-Object -ComObject Wscript.Shell
$Output = $wshell.Popup("Number of enabled network adapters: $enabledAdapterCount", 0, "Active Adapters", 64)
#>


if ($enabledAdapterCount -gt 0) {

    $wshell = New-Object -ComObject Wscript.Shell
    $Output = $wshell.Popup("Proceeding will disable all network adapters, Are you sure?", 0, "Number of Active Adapters: $enabledAdapterCount", 4 + 32)
    if ($Output -eq 6) { Disable-NetAdapter -Name "*" -Confirm:$false }
}
else {

    $wshell = New-Object -ComObject Wscript.Shell
    $Output = $wshell.Popup("Proceeding will enable all network adapters, Are you sure?", 0, "Number of Active Adapters: $enabledAdapterCount", 4 + 32)
    if ($Output -eq 6) { Enable-NetAdapter -Name "*" -Confirm:$false  }
    }
Create a shortcut to “powershell.exe” on your desktop. Modify it like below image.
The same script can enable or disable all adapters based on their current status. You cannot execute this script as a normal user.
Couple of months back I published an article explaining how to install and configure Oracle APEX on Windows. This article was targeting the products Oracle APEX 23.2 with ORDS 23.4. Today we will see how to upgrade the APEX 23.x to APEX 24.1
Please note, APEX 24.1 was recently released and prone to have bugs. You will not be able to patch the 24.1 to latest builds without a valid Oracle support license. Hence, think twice before applying the instruction to your PRODUCTION instances. For me, this attempt is merely for learning purposes.
As mentioned with linked article, I will be always downloading the latest package from the download page.
Once the installation package downloaded, extract it to a path without spaces. It is “OKAY” to download the installation guide as well ;)
Now, from an elevated command prompt (not Terminal) window, switch to the path where you have extracted the APEX package. Please check the below image carefully.
Switch to the path were latest APEX software was extracted
Connect to Oracle as Sys
Switch to the container where Oracle APEX is already installed
Execute the apexins.sql script
The upgrade process could take considerable time to finish based on the number of objects already in the instance. If the upgrade process looks stopped over couple of minutes, tap the Enter key. This should progress the upgrade process. Usually this happens while recompiling objects.
Once the upgrade process is complete, logon to your ADMIN account.
As on date, set 6 is the latest patch available for APEX 24.1 & as mentioned earlier, is available for users with valid support contracts.
If you don’t have Oracle support, let us configure ORDS with latest APEX images now.
Rename/Delete the “images” folder from the ORDS configuration path and copy the “images” folder from the latest installation source.
If Apache-Tomcat web server is used, replace the “i” folder with the “images” folder from the latest source before restarting web services once again.
If you see an error like below (Version numbers will differ based on your previous version and current version), this should be due to browser cache most of the times. Please clear the browser cache and everything should be fine.
Applying latest APEX Patch for 24.1
As on date, Set 6 (36695709) is the latest patch for APEX
Once downloaded, extract the archive to a path without spaces. Switch to the path from an elevated command prompt.
Set the NLS language parameter
Connect as SYS
Switch to the container where you have APEX already installed. Please refer the readme file for specific instructions in case if the APEX is not installed on a PDB
Execute catpatch.sql
This shouldn’t take much time to complete. Once the patching finishes, merge the images folder with both ORDS and Apache-Tomcat. Restart the web services.
My sincere gratitude goes out to Tim Hall as always for helping me out of difficult situations.
Definitely not for an environment that boasts TBs of data that should be backed up the most efficient way. This solution is best suitable for environments where backups sizes are not exceeding couple of TBs in size as the BitLocker encryption will slow down the entire process by encrypting each new file during the initial copying. Once the first sync is over, consecutive synching should be far faster as only new and modified files will be copied & encrypted to the destination volume.
Further, the performance of the entire process depends upon the hardware resources available also. We deployed this solution for one of our businesses that has approximately 500GB total size, consist of hundreds of thousands of small files. The first robocopy run on each external disk over USB 3.0 took approximately 10-12 hours and the consecutive runs completed within 20-22 minutes. We used Tandberg RDX Quickstor External solution for this purpose. This time could be brought down to couple of hours if both source and destination volumes are based on SSD.
The solution approach was like this. All RDX tapes for 6 days per week were formatted as NTFS volumes, enabled BitLocker on them immediately after formatting.
The same machine Powershell was configured to run remote signed scripts. Powershell sample as below.
Interested about what happens when your password is converted to Secure String? Check the image below. That’s how a secure string looks & someone who has access to your computer/server could still be able to convert it to plain text and get your password. Hence, this is not a 100% fail safe solution, however it could be pretty effective against robots/malicious codes.
The above exercises were to confirm everything is in place and working properly before developing the script that will be used for regular backups. Name it anything and refer it inside the scheduled job.
#DailyBackup.ps1
#Author: Rajesh Thampi
#Date: 14.10.2024

#Read the BitLocker password from the xml file
$Secret = Import-Clixml -Path C:\Scripts\default.xml

#Unlock the volume that is BitLocer protected.
Unlock-Bitlocker F: -Password $Secret

#Setup source and destination paths.
$source='D:\Some_Folder'
$destination='F:'

#Start robocopy. Use /ZB switches to avoid recyclebin related issues.
Robocopy.exe $source $destination /E /DCOPY:DAT /XO /ZB

#After the copying, lock the drive immediately.
manage-bde -lock F: -ForceDismount
By the way, RDX hardware is not cheap. Hence you should consider alternative mediums. The advantage of a BitLocker protected volume is, even during a ransomware attack these volumes could be completely immune, unless the volume is open for backups during the attack. Well, you never know.
This post was last updated on 24th March 2025. One of the visitors commented that VBS was disabled by turning off Tamper Protection. I received a confirmation from other visitor, using Windows 11 Home Edition.
This post was last updated on 5th February 2025 to confirm that the below hacks are not applicable for Windows Home Editions. If we come across any, will duly share them. Cheers!
This post was last updated on 27th January 2025 to include additional information with another laptop HP Probook 450 G10 running Windows 11 23H2 and VBS was already enabled when we received this device at work. I observed the below while disabling VBS on the same.
No need to disable Kernel DMA Support
Secure boot disabled
To disable VBS, this time I approached the below sequence
Disabled Core Isolation->Memory Integrity->Reboot
Ran Device Guard Readiness script with switch “Disabled” (Explained below)->Reboot. Accepted the prompts to disable both Credential Guard & VBS opt-outs and VBS was disabled completely.
This post was last updated on 15th January 2025 to include my experiments with a new Dell G16 7630 gaming laptop that I changed my six years old laptop with. For the same, I have disabled 2 things on BIOS prior continuing with other attempts from the OS.
Kernel DMA Support
Secure Boot
Once again, the methods that I listed below should only be referred as workaround solutions and you must let Microsoft handle such stuffs the best ways it suits to offer maximum security and stability for your devices.
I use virtual machines almost everyday & recently I took the risk of upgrading my finely tuned Windows 11 23H2 development laptop to 24H2 using my insider account. The upgrade was smooth without any troubles and none of the existing software that I use reported issues. Then I wanted to use my virtual machines!
As usual, multiple security related features are added or enhanced in 24H2 build and many of them are totally depending upon Hyper-V, Microsoft’s own virtualization platform. So, after a successful upgrade to 24H2, don’t be surprised if your find Hyper-V running in the background while so called “Windows Features are still disabled for it”. Read more about VBS here.
As our primary objective is to disable the VBS so that we can go back with our virtual machines, you should know the most disappointing thing at this point, there are no toggle switches available to completely disable VBS. You have to toggle few switches, run some scripts, fiddle around with group policy etcetera to get the task done.
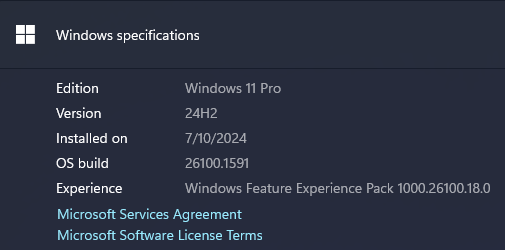
You can use good old “System Information” to check whether VBS is running/enabled. I’ve enabled VBS once again to demonstrate how to disable it for this article. Please note, depending upon your hardware, you may see few or more details than that are visible in the picture below.
As per the system information gathered, my computer is currently enabled with VBS. This laptop has a TPM 2.0 chip & UEFI secure boot disabled.
Based on whether the secure boot is enabled, disabling VBS can become pretty complex. I will share some links to Microsoft articles explaining how to deal with such situations as well.
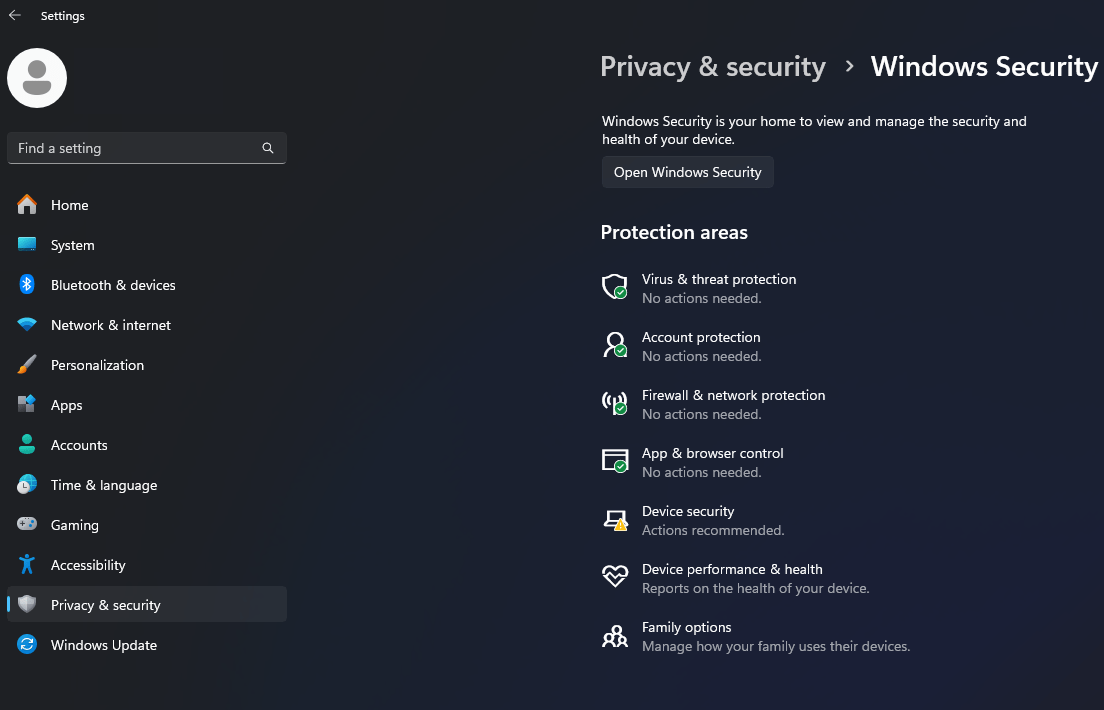
First we will see how to disable the virtualization based security when the secured boot is disabled. Go to “Settings->Privacy & Security->Device Security”
Toggle the Memory integrity to turned off.
Reboot & check whether the VBS is disabled. If not, proceed to next step.
Before trying to execute the PowerShell script, make sure the execution policy has been set as “unrestricted”. Without, the script will execute and show some information, that wouldn’t really tell you what went wrong.
Now open an elevated command prompt/PowerShell, switch to the path where you have extracted the file that you downloaded earlier. If you are using PowerShell, switch to the path first then type the first couple of letters, for example “DG” and tap the tab key, that will fetch the full name of the script. Ignore the error messages.
Accept the prompts & restart your computer. Restarting is a must after every attempt. There will be two prompts asking you whether to disable two different features, which should be accepted. The first prompt asks for Credential Guard opt-out confirmation, that you should accept by pressing “F3” key.
The same will be confirmed in the next screen.
Now “Virtualization Based Security” opt-out will be presented. Once you again press “F3” to proceed.
Much of the times, this should resolve the issue & VBS should be disabled.
If the VBS is not yet disabled, try setting up the Group policy. I truly hope you know what you are doing!
Open group policy editor, Local Computer Policy->Computer Configuration->Administrative Templates->System->Device Guard->Turn On Virtualization Based Security->Disabled
Now restart your computer once again. Check whether the VBS is disabled or not.
Still having troubles? Let’s check few more things.
Run “System Information” once again & check the elements as marked in the image below.
If VBS is still running and “A hypervisor has been detected. Features required for Hyper-V will not displayed” is shown, it means Hyper-V is still running after the above exercises. We can try to disable Hyper-V from the boot now.
Open powershell/Terminal as Administrator & execute the following command.
bcdedit /enum | findstr -i hypervisorlaunchtype
If running the command returns nothing, it means hypervisor is turned off in the boot & fixing the VBS looks almost impossible (in case if all the above were already tried). On the other hand, if it returns one of the below
hypervisorlaunchtype Auto
hypervisorlaunchtype On
Then you still have a chance to fix the VBS issues. Execute the below command in the same powershell session.
bcdedit /set hypervisorlaunchtype off
Reboot and check the system information window once again and you should see something similar to below image.
If VBS is shown as “Not Enabled” or “Not Running”, then you are all good. Now, the million dollar question is, should you disable Hyper-V at all? Windows is building many features on top of Hyper-V that will provide a sandboxed environment for the OS. Tomorrow, Microsoft might decide not to let the users disable Hyper-V using hacks. Regardless, let us all hope Oracle VirtualBox or VMWare tweaks their hypervisors so that they can coexist with Hyper-V and still ensure the same performance.
Let’s see what Copilot has to tell us about the potential risks associated with disabling VBS
I’ve been a Windows insider from the very beginning. However, my insider experiments were always limited to a virtual machine as release previews previously broke my fine tuned environments. This time I couldn’t get the Windows 11 VM upgraded due to some unknown issues preventing VirtualBox getting stuck at boot after the update installed. So, I decided to upgrade my development machine. One of the funniest situations I came across was the upgrade not being offered after setting up “insider program”
Let us check how to get the update step by step this time.
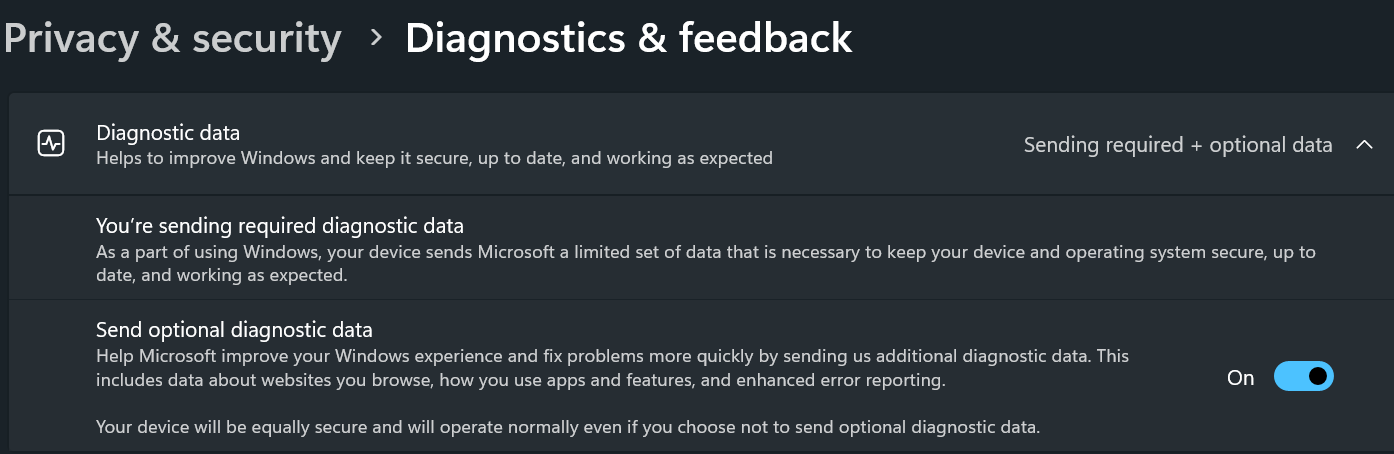
You must share diagnostic data with Microsoft for the insider program to work properly.
Once set, you can go to Windows update and enroll for insider program. Setting up the insider account could get stuck, just wait for few minutes and try again. It should be fixed. As I was only interested about #24H2, I’ve opted for unenrollment when the update is generally available for everyone.
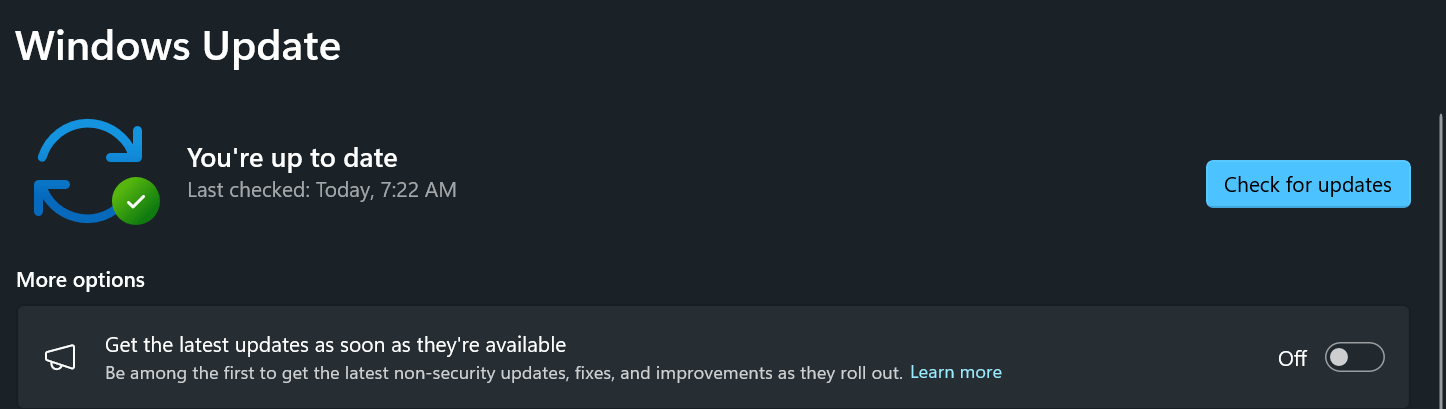
Well, setting up and restarting and checking for new updates may not show you the #24H2 update yet, you need to enable one more setting. You need to turn on “Get the latest updates as soon as they’re available” option. Do another round of check for updates and #24H2 will be definitely offered to you. Happy upgrading.
If you are a seasoned Windows OS user, every update opens room for more bugs & release previews WILL not be anything different. If you don’t have the luxury to reset if required, wait for the final version of the update is available. That could save you some frustrations.
We’re using Oracle EBS release 12 for our business and we are stuck with Oracle Developer 10g as we have many inhouse developed applications, especially for Order Management requiring frequent development and maintenance.
Once in a while, after Windows updates, Oracle’s obsolete development suite starts acting weird (Windows wouldn’t maximize, sporadic internal errors…) & ironically, restarting fixes most of them.
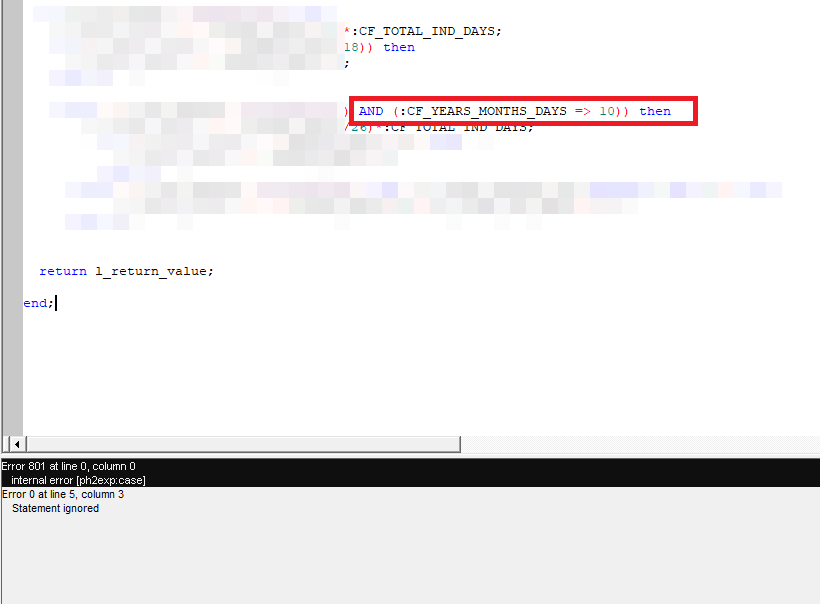
Recently, I had some issues with Report developer 10g. The error message was “internal error [ph2exp:case]”. As an “experienced” PL/SQL developer, I was sure that my code was great and these errors WERE another set of issues produced by Oracle’s obsolete stack. Well, I was wrong.
The error was due to constructing the operators wrongly. Instead of “Greater than or equal to” I set up “Equal to or greater than” causing the compiler to raise the error. Oracle document 1093084.1 should give you more information.
Hence, if you ever run into this compiler error, please don’t blame Oracle. Just correct the positions of the operators.
Okay, consider this as a personal journal entry for quick access ;). I don’t remember the exact source, regardless I copied and kept it for years and hopefully it would help you also.
If one of your experiments goes truly bad, messing the NTFS permissions, use the following command(s) to reset them. Open an elevated command prompt and
To reset permissions for a file: icacls "full path to your file" /reset.
To reset permissions for a folder: icacls "full path to the folder" /reset.
To reset permissions for a folder, its files, and subfolders: icacls "full path to the folder" /reset /t /c /l.