Windows 10 64Bit | Install & Configure Weblogic 10.3.6 (64Bit), Developer Suite 11gR2 using JDK 7.x

Update (19th October 2015): I’m yet to find proper solutions for screen capturing in Windows 10. My favorite OBS doesn’t render the dropdown menus while screen recorded (thread here). Once it’s done, I will make the video as promised with my last update.

Update (12th October 2015) : I’m not promising, however, if possible, I will soon post a video with my Youtube channel explaining how you can configure both forms and reports server for hosting applications. Stay tuned :)

Hi guys

There are excellent articles explaining installing WebLogic 10.3.6 64Bit on Windows. Most of the installation methods are applicable to Windows 7, 8.x & on Windows 10 also. I opted to do a factory reset (the new reset option available with Windows 10) and was forced to re-install & configure WebLogic. I thought of sharing my experiences with you, as usual :)

(There were not a single hiccup experienced throughout the installation, to say it short)

Environment: Windows 10 Professional 64Bit, i5 Processor, 8GB memory, 1TB HDD, Dell laptop

Update 12th October 2015

Weblogic server 10.3.6 has identified issues with IPV6, hence I will suggest you to disable it in case if you are expecting a better experience with your Weblogic servers (forms & reports). ISA, the firewall client also could be a problem.

Once the IPV6 disabled, if you are in a home network or domain network, ping your machine and make sure that your ping replies are coming from your IPV4 address, instead of IPV6. If your computer is a domain member, ask your administrator to delete the IPV6 DNS entries for your box, disable IPV6 in your computer and restart. Ping again to confirm the replies are from IPV4. The issues are random, I had my Windows 8.1 machine with both the protocols enabled and my Weblogic servers just ran smoothly, however my Windows 10 box was adamant and until I disabled IPV6, couldn’t get the report server functional properly.

Step 1

Install JDK 7 to a folder without spaces in between, preferably C:\ (eg: C:\jdk or D:\jdk). Avoid installing JRE that comes with the JDK package.

Step 2

Copy your WebLogic installation .jar file to a folder (eg: D:\downloads)

Step 3

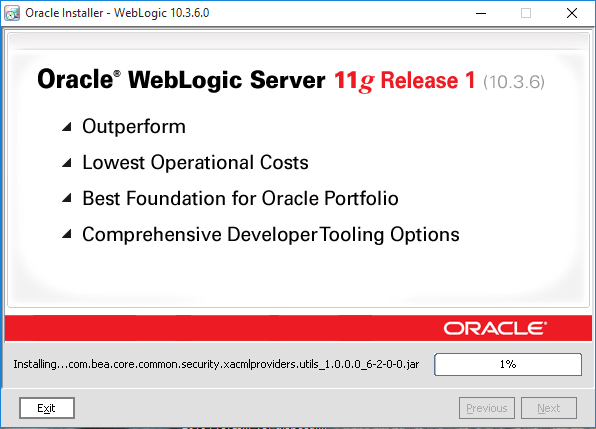
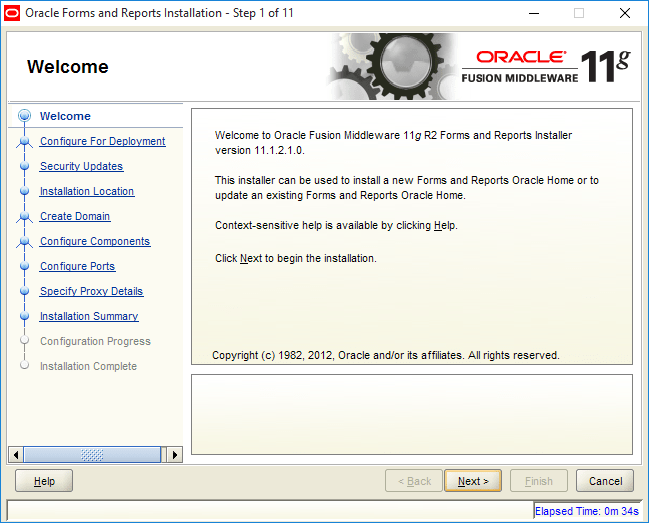
Now kick start the installation, as seen with the below image. It may take a while to deflate the .jar file and the installation to start

1

1a

2

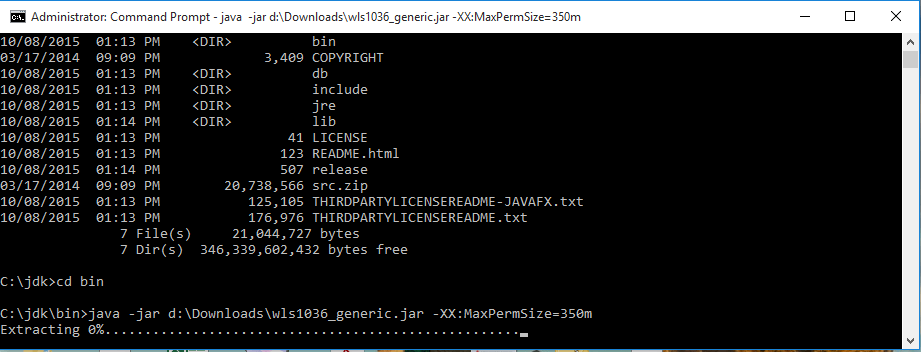
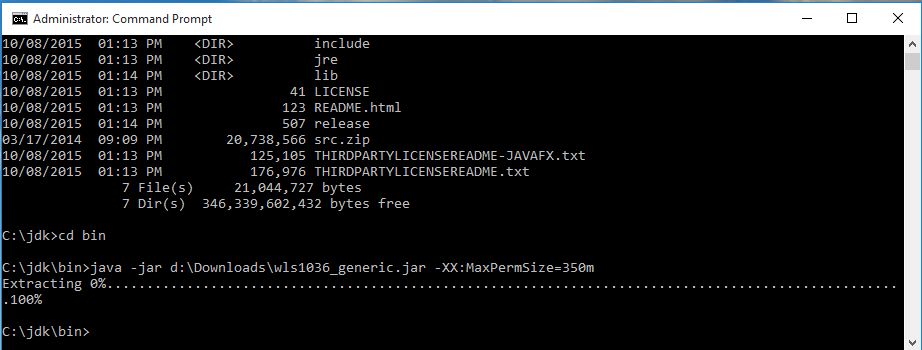
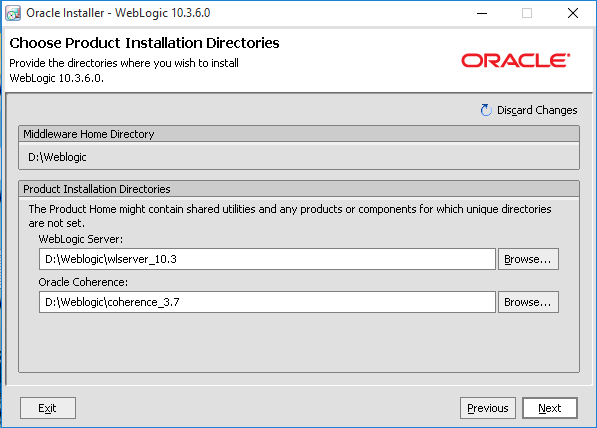
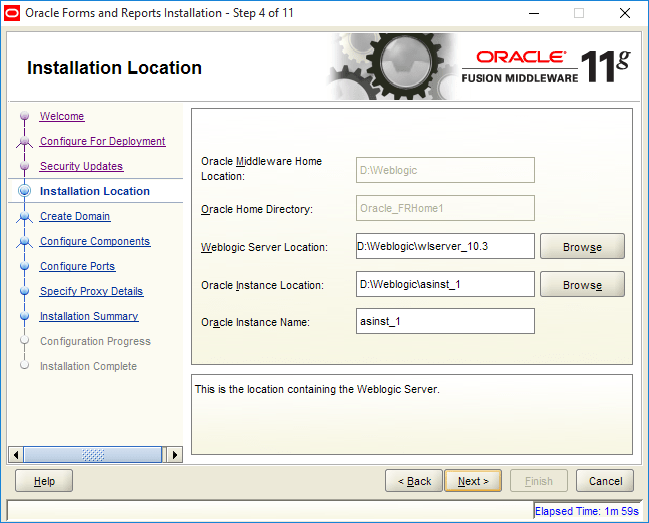
Try to install the weblogic server in a folder that doesn’t have spaces in it’s name. I always installed it in D:\weblogic

3

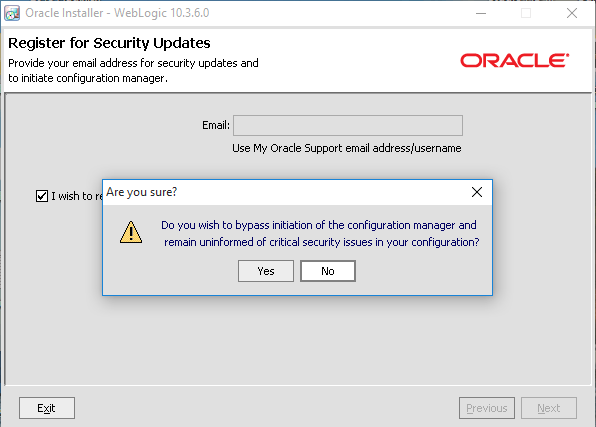
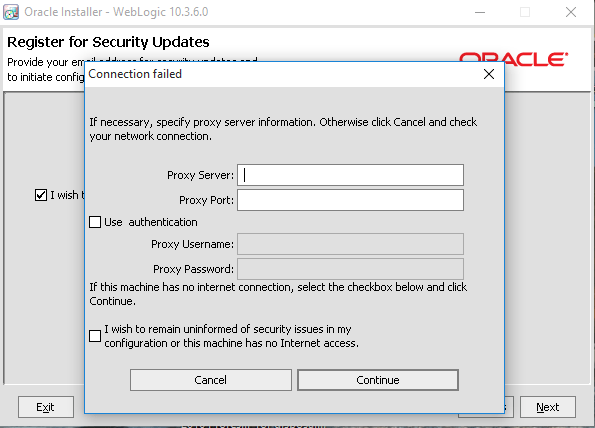
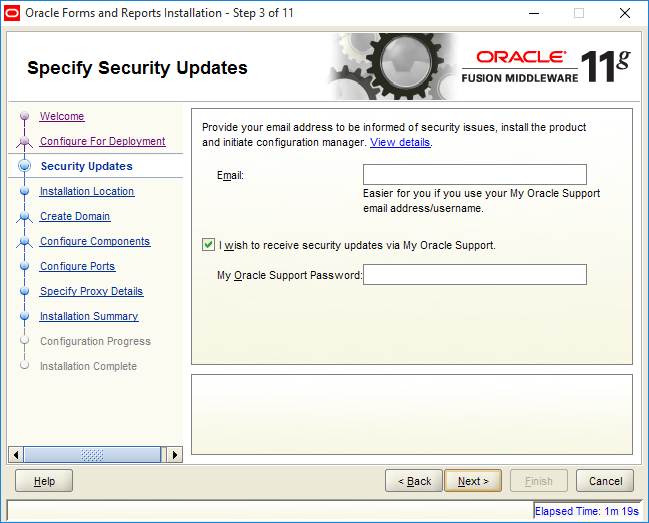
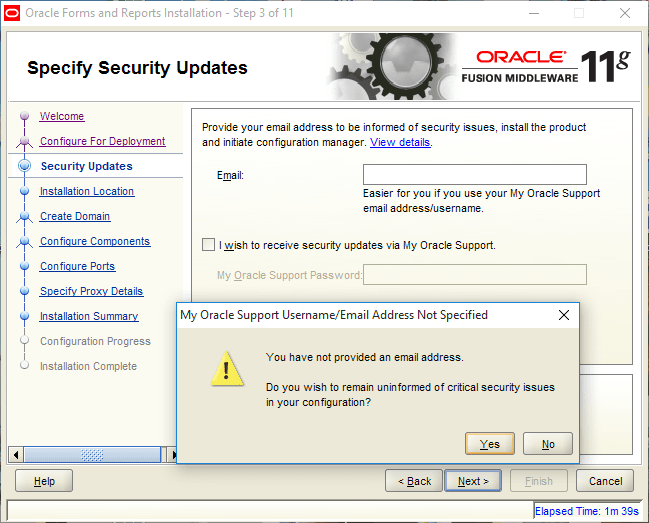
You don’t have a support for the product most of the times, so uncheck the “I wish…”

4

5

6

7

8

Choose the “Typical” for install type

9

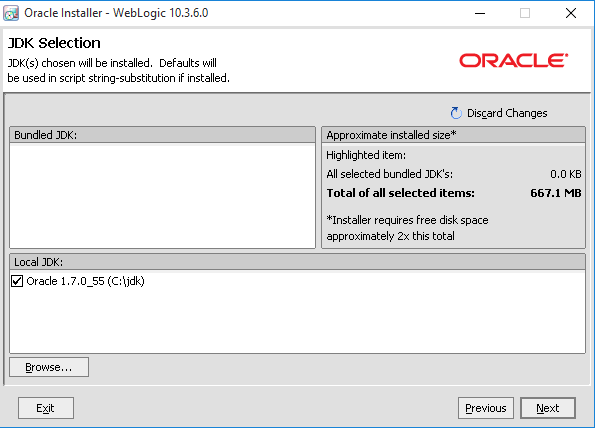
As you started the installation from the JDK installation folder, the local JDK will be already chosen

10

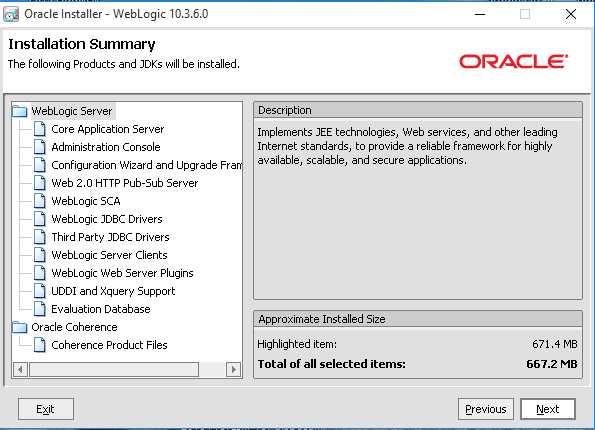
Select the defaults for components installations(unless you know how to handle it thoroughly)

11

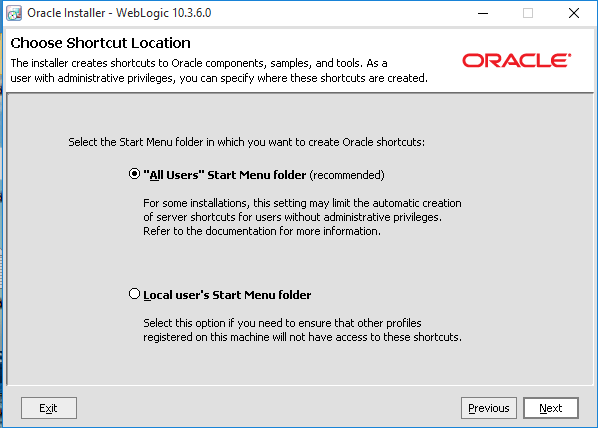
Install WebLogic for all users

12

13

14

15

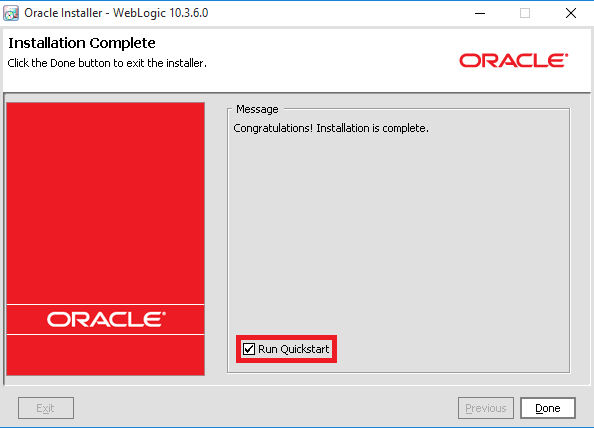
Uncheck “Run Quickstart” and exit the installation by clicking the Close button

16

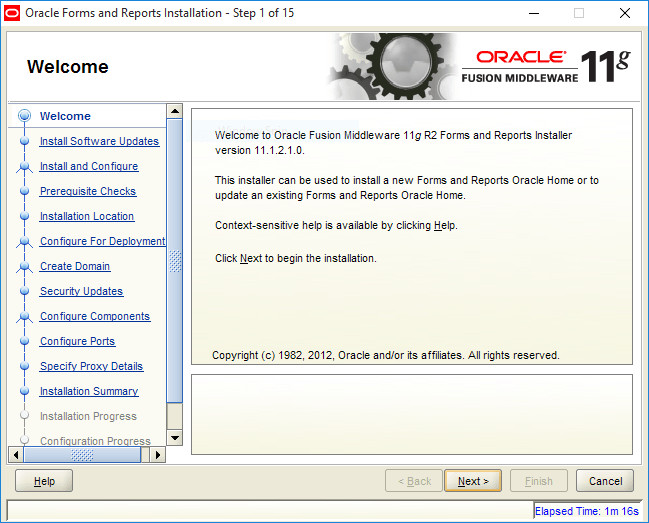
Step 4 – Install Developer Suite 11gR2

Installation media for Developer Suite 11gR2 comes as 3 disks. Download (if still available) and start the “Setup.exe” from Disk 1

1

2

3

4

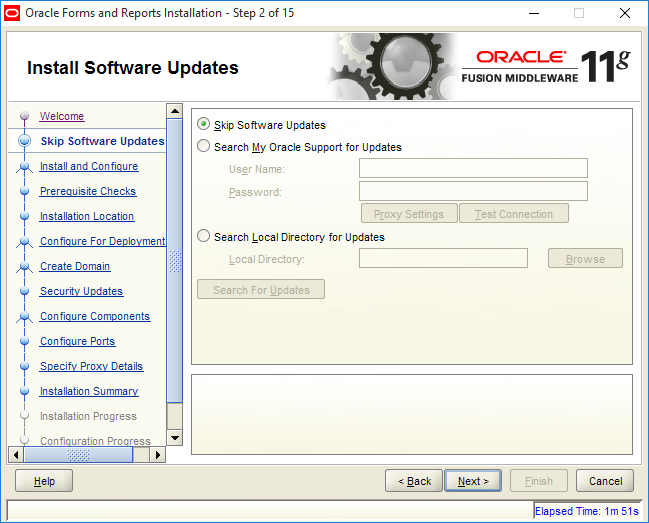
Select “Skip Software Updates” which requires a paid support from Oracle. If you have one, please set it up prior going ahead with the installation

5

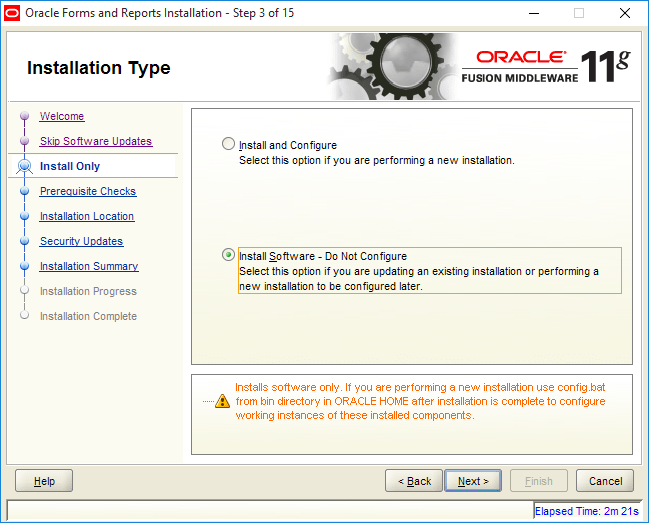
Select “Install Software – Do Not Configure”. We’ll configure it as part of our Classic Instance setup.

6

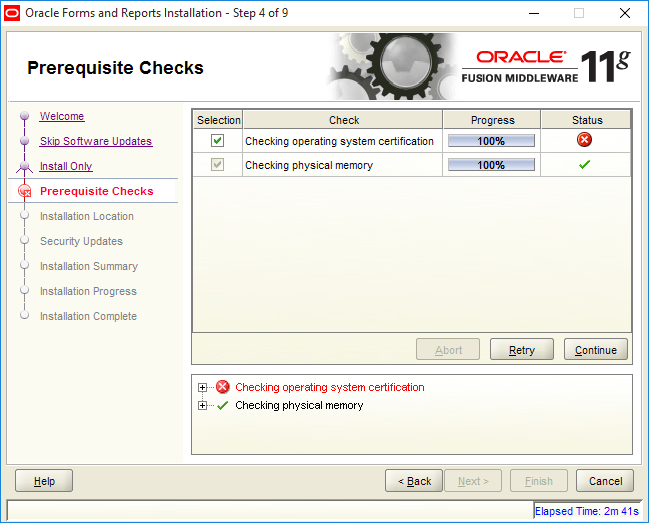
You can ignore the error, details mentions about unsupported operating system, well that’s all our intentions

7

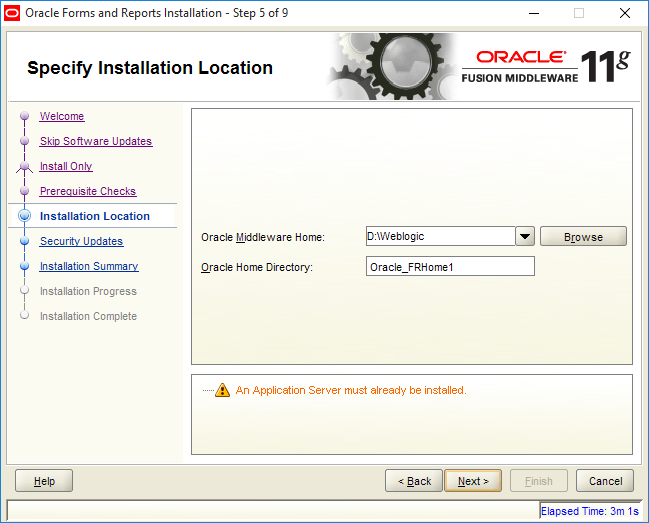
Unless you have specific requirements, accept the defaults

8

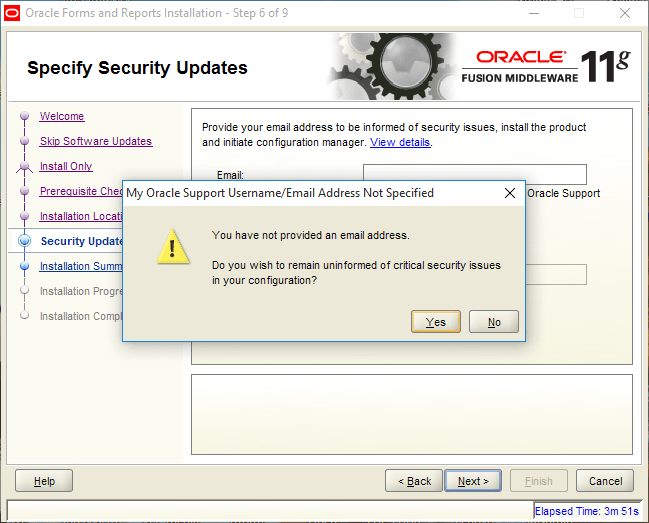
You don’t have a paid support from Oracle, you don’t get updates. Uncheck “I wish to …”

9

10

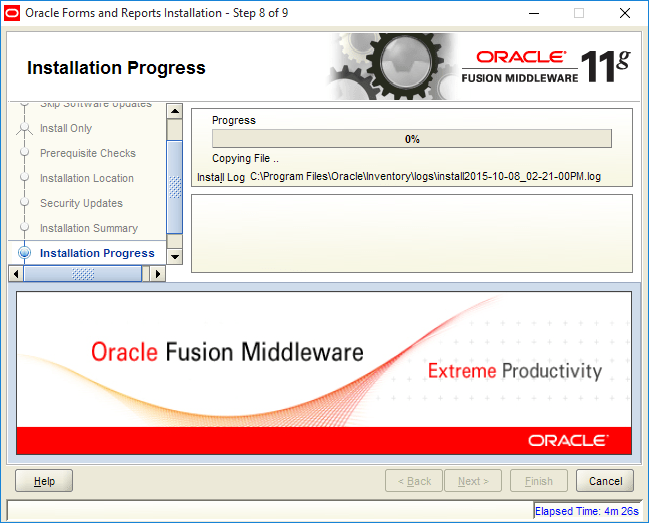
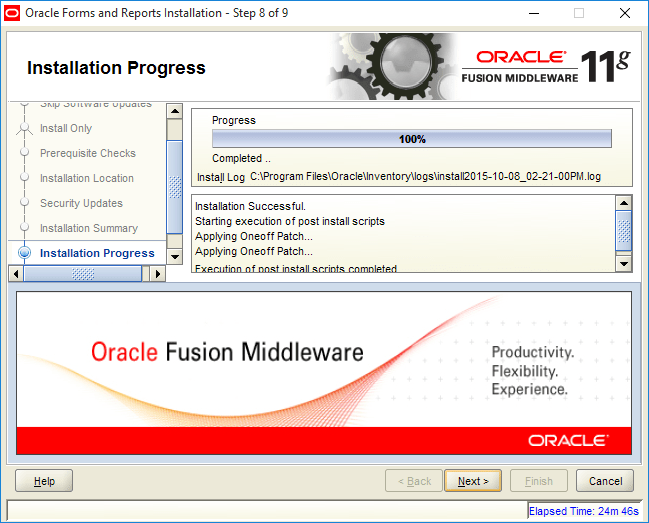
The installation will start now and it takes quite a while, in my case around 30 minutes. Sit back and relax

11

12

13

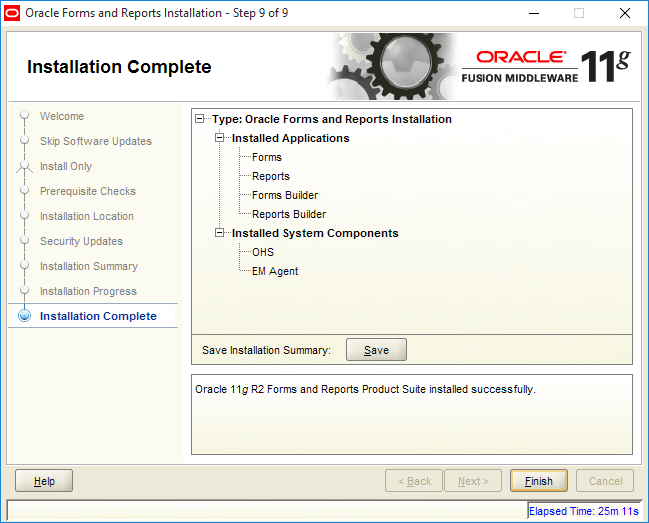
Exit the installation clicking “Finish” button.

14

Step 5 – Configure a Classic Instance

Even though you have installed Developer Suite 11gR2, you cannot yet use the development tools unless a classic domain is set up. Below please see how a classic domain is configured with Developer forms and reports.

A default installation of Oracle Developer Suite should create a folder “Oracle Classic 11g -Home1” under programs. You can activate the classic home setup by invoking menu item “Configure Classic Instance”

(I’m using ClassicShell start menu, I can’t really work with the latest “Start Menu”, so don’t get confused with the below image. You can use the search to find “Configure Classic Instance”)

0

0a

1

Select “Configure for Deployment”

2

Skip the below by unchecking the “I wish to …”

3

4

Unless mandatory, accept the defaults

5

Provide a alphanumeric password for “weblogic” account for the domain. Please note it down, incase if you fear of forgetting it (I do many times)

6

Important: By default “Oracle Forms and Reports 11g R2” is unchecked, You must check this option to install the developer tools. After checking, proceed with the configuration

7

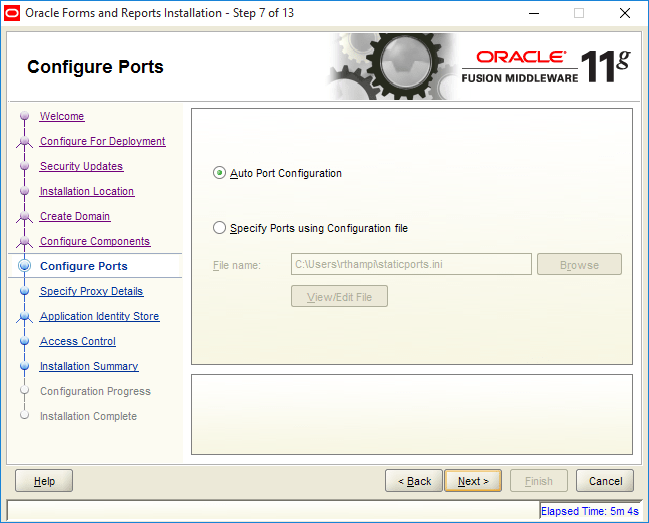
Select “Auto Port Configuration”

8

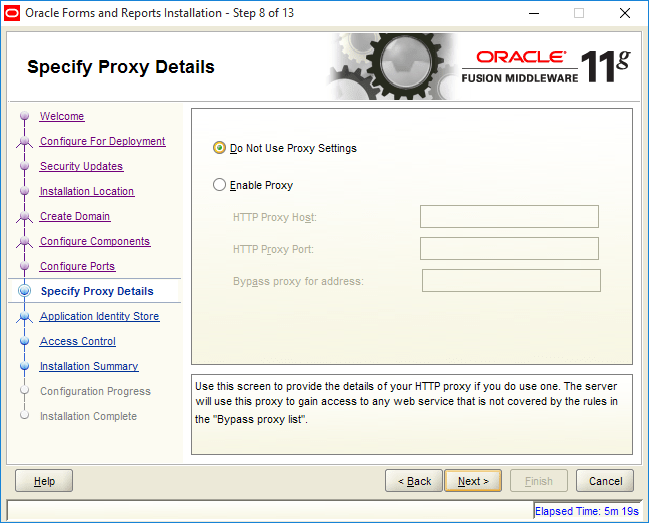
Select “Do not use proxy settings”. Proxy settings could make weblogic experiences cumbersome. I suggest you use a computer that doesn’t require proxy settings

9

We are not going to use the Identity store for a local development machine, if you do, please provide the details.

10

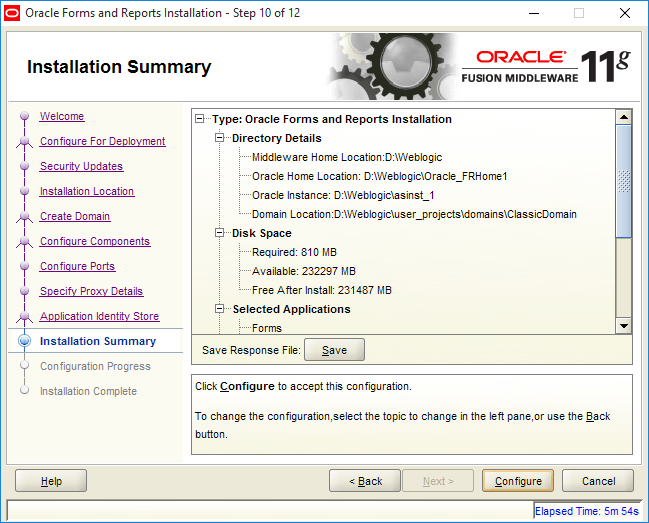
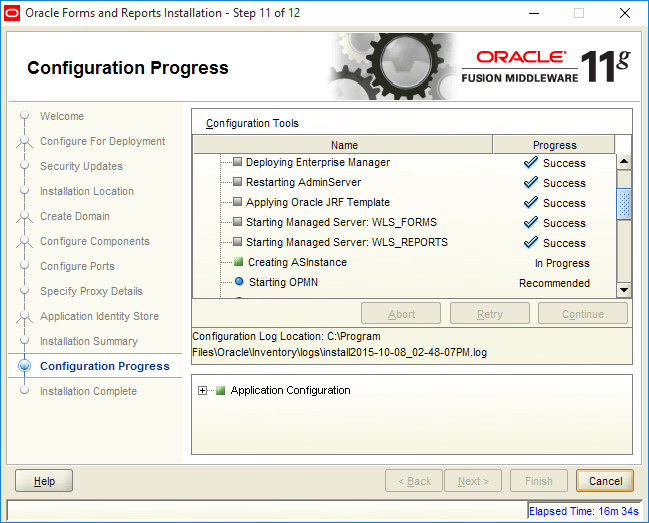
Initiate the configurations by clicking “Configure” button

11

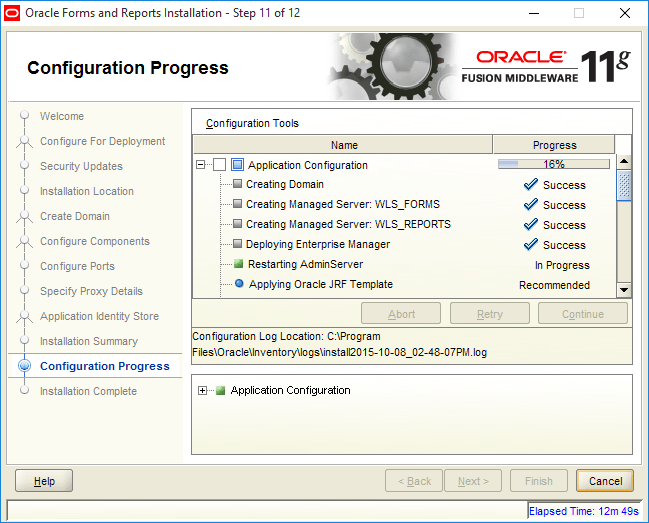
Configuration should complete in around 30 minutes, so sit back and relax

12

13

14

15

16

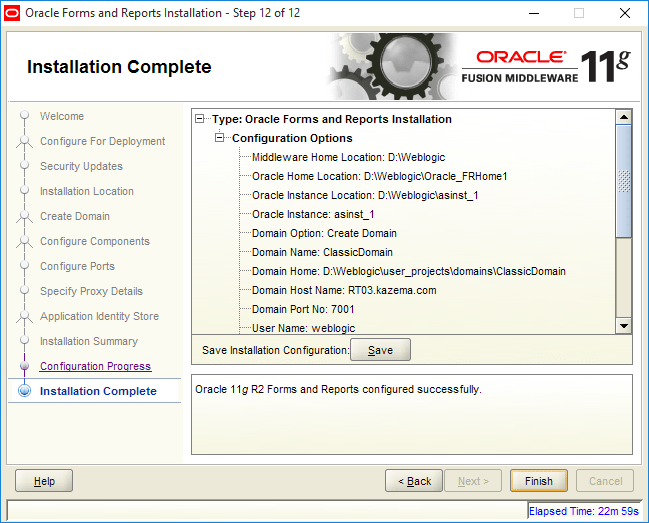
The above concludes the installation of WebLogic Server 10.3.6 & Developer Suite 11gR2 64Bit on Windows 10.

You can access the WebLogic server console by visiting http://localhost:7001/console/login/LoginForm.jsp

Let us checkout few essentials those will make sure that you have a seamless experience with the fresh installation.

Unlike the 32Bit, 64Bit installation of WebLogic server doesn’t install node manager Windows service. So you must install the windows service using the scripts provided by the installation process. If you didn’t change any of the default paths while installing the WebLogic server, the node manager windows service installation script file will be available …\wlserver_10.3\server\bin path

Best practice

Shutdown all running servers using the WebLogic console and restart the computer, this will avoid any sort of complication that could arise while the below exercise are executed.

From an elevated command prompt, running “installNodeMgrSvc.cmd” script will create this node manager windows service for you, which is mandatory for the WebLogic console to maintain your forms & reports servers (start, shutdown)

Once you created the node manager service, you should create a service for WebLogic admin server as well. This will help you from running the batch files manually & having a cluttered desktop later. More than, once created these services can restart themselves whenever you restart the box!

[code language=”text” gutter=”false”]
echo off

SETLOCAL

set DOMAIN_NAME=ClassicDomain

set USERDOMAIN_HOME=D:\WebLogic\user_projects\domains\ClassicDomain

set SERVER_NAME=AdminServer

set WL_HOME=D:\WebLogic\wlserver_10.3

set WLS_USER=weblogic

set WLS_PW=pass123

set PRODUCTION_MODE=true

set MEM_ARGS=-Xms512m -Xmx512m

call "%USERDOMAIN_HOME%\bin\setDomainEnv.cmd"

call "%WL_HOME%\server\bin\installSvc.cmd"

ENDLOCAL
[/code]

Copy the above script to a text file and save with a name like “InstallAdminServer.cmd” or with a name that ends with .cmd extension. I will always prefer saving the file in the same folder where we had the node manager service installation script.

Now, from an elevated command prompt, run the script, which should create Admin Server Windows Service for you.

srvc

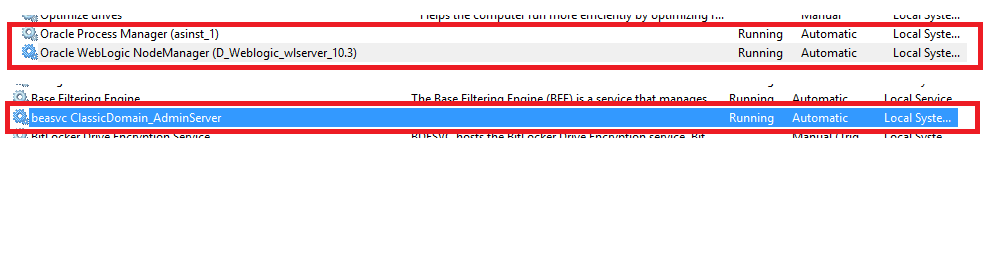
If you followed the instructions, you should see all the services as listed above. You can start the ones which are not running, Please wait a while before trying to access the WebLogic admin console after starting the service. It takes few minutes for the admin server to come online.

I do hope this post will help you to install and configure WebLogic Server and Developer Suite 11gR12 on Windows 10 successfully. Have questions or problems? please update me with the comment section.

for Windows7bugs

rajesh

Oracle Application TCA | Supplier API | Sample

Hi guys

I’m posting a sample script for creating suppliers, sites and contacts. I’ve referred multiple sample scripts and believe the below code block is a fine tuned one, however standing refinement at all levels. Please note, I haven’t added the API block for creating banks for suppliers. Will, and update the scripts as I make advancements.

[code language=”sql” gutter=”false”]
/* Formatted on 10/5/2015 11:12:16 AM (QP5 v5.163.1008.3004) */
SET DEFINE OFF;
SET SERVEROUTPUT ON;

DECLARE
–For supplier parameters

p_api_version NUMBER;
p_init_msg_list VARCHAR2 (200);
p_commit VARCHAR2 (200);
p_validation_level NUMBER;
x_return_status VARCHAR2 (200);
x_msg_count NUMBER;
x_msg_data VARCHAR2 (200);
p_vendor_rec apps.ap_vendor_pub_pkg.r_vendor_rec_type;
x_vendor_id NUMBER;
x_party_id NUMBER;
V_MSG_INDEX_OUT NUMBER;

–Site parameters

l_vendor_site_rec ap_vendor_pub_pkg.r_vendor_site_rec_type;
lc_return_status VARCHAR2 (10);
ln_msg_count NUMBER;
lc_msg_data VARCHAR2 (1000);
ln_vendor_site_id NUMBER;
ln_party_site_id NUMBER;
ln_location_id NUMBER;

–Contact parameters

p_vendor_contact_rec apps.ap_vendor_pub_pkg.r_vendor_contact_rec_type;
x_vendor_contact_id NUMBER;
x_per_party_id NUMBER;
x_rel_party_id NUMBER;
x_rel_id NUMBER;
x_org_contact_id NUMBER;
x_party_site_id NUMBER;

–General exception

local_exception EXCEPTION;
local_failed_at VARCHAR2 (10);

p_vendor_number VARCHAR2(30) := NULL;

BEGIN
–Please note: This API was tested against Release 12 (12.0.6)
–You are warned against undesired results, if tried against unsupported application releases

–Initialize application
–"Master Data" responsibility details
mo_global.init (‘SQLAP’);
fnd_global.apps_initialize (user_id => 1353,
resp_id => 50997,
resp_appl_id => 200);
fnd_global.set_nls_context (‘AMERICAN’);

mo_global.set_policy_context (‘S’, 101);

p_api_version := 1.0;
p_init_msg_list := FND_API.G_TRUE;
p_commit := FND_API.G_TRUE;
p_validation_level := FND_API.G_VALID_LEVEL_FULL;
x_return_status := NULL;
x_msg_count := NULL;
x_msg_data := NULL;
p_vendor_rec.vendor_name := ‘WINDOWS7BUGS BLOG’;
p_vendor_rec.vendor_type_lookup_code := ‘VENDOR’; –Vendor type supplier
p_vendor_rec.SUMMARY_FLAG := ‘N’;
p_vendor_rec.ENABLED_FLAG := ‘Y’;
— p_vendor_rec.women_owned_flag := ‘N’;
— p_vendor_rec.small_business_flag := ‘Y’;

— Supplier MUST have a global level payment method
— So that individual companies can defer the default payment method while sites are created
— I have tried the following @ site levels, didn’t work until at supplier level assigned. You may post corrections with
— Comments section

p_vendor_rec.ext_payee_rec.Exclusive_Pay_Flag:=’N’;
p_vendor_rec.ext_payee_rec.default_pmt_method := ‘CHECK’;

— if the Payable System setup is set automatic numbering for the suppliers (table ->AP_PRODUCT_SETUP Column -> SUPPLIER_NUMBERING_METHOD = ‘AUTOMATIC’)
— You can get the next number from column NEXT_AUTO_SUPPLIER_NUM
— if you are following manual numbering (Alpha Numeric )
— p_vendor_rec.segment1 :=’865′; –(insert non duplicate number, in case if the supplier numbers are not fetched from a sequence, check your setups)

— We do have an automatic numbering for suppliers, hence the below block is used
— If your setups are not as explained above
— Comment from BEING until p_vendor_rec.segment1 := p_vendor_number;

BEGIN
Select NEXT_AUTO_SUPPLIER_NUM into p_vendor_number from AP_PRODUCT_SETUP
where SUPPLIER_NUMBERING_METHOD= ‘AUTOMATIC’;
EXCEPTION
WHEN NO_DATA_FOUND then
local_failed_at := ‘NUMBER’;
RAISE local_exception;
END;

p_vendor_rec.segment1 := p_vendor_number;

x_vendor_id := NULL;
x_party_id := NULL;
apps.ap_vendor_pub_pkg.create_vendor (p_api_version,
p_init_msg_list,
p_commit,
p_validation_level,
x_return_status,
x_msg_count,
x_msg_data,
p_vendor_rec,
x_vendor_id,
x_party_id);
DBMS_OUTPUT.put_line (‘X_RETURN_STATUS = ‘ || x_return_status);
DBMS_OUTPUT.put_line (‘X_MSG_COUNT = ‘ || TO_CHAR (x_msg_count));
DBMS_OUTPUT.put_line (‘X_MSG_DATA = ‘ || x_msg_data);
DBMS_OUTPUT.put_line (‘Supplier Number = ‘ || p_vendor_number);
DBMS_OUTPUT.put_line (‘X_VENDOR_ID = ‘ || TO_CHAR (x_vendor_id));
DBMS_OUTPUT.put_line (‘X_PARTY_ID = ‘ || TO_CHAR (x_party_id));
DBMS_OUTPUT.put_line (”);

IF x_return_status <> ‘S’
THEN
IF x_msg_count > 0
THEN
FOR v_index IN 1 .. x_msg_count
LOOP
fnd_msg_pub.get (p_msg_index => v_index,
p_encoded => ‘F’,
p_data => x_msg_data,
p_msg_index_out => v_msg_index_out);
x_msg_data := SUBSTR (x_msg_data, 1, 200);
DBMS_OUTPUT.put_line (x_msg_data);
END LOOP;
END IF;

local_failed_at := ‘SUPPLIER’;
RAISE local_exception;
END IF;

–Create Site
l_vendor_site_rec.vendor_id := x_vendor_id; — 1117549;
l_vendor_site_rec.vendor_site_code := ‘Kuwait’;
l_vendor_site_rec.address_line1 := ‘Office Address line 1’;
l_vendor_site_rec.city := ‘Kuwait’;
l_vendor_site_rec.country := ‘KW’;
l_vendor_site_rec.org_id := 101;

l_vendor_site_rec.ext_payee_rec.default_pmt_method := ‘CHECK’;

— ————–
— Optional
— ————–
l_vendor_site_rec.purchasing_site_flag := ‘Y’;
l_vendor_site_rec.pay_site_flag := ‘Y’;
l_vendor_site_rec.rfq_only_site_flag := ‘N’;

pos_vendor_pub_pkg.create_vendor_site (
— ——————————
— Input data elements
— ——————————
p_vendor_site_rec => l_vendor_site_rec,
— ———————————
— Output data elements
— ———————————
x_return_status => lc_return_status,
x_msg_count => ln_msg_count,
x_msg_data => lc_msg_data,
x_vendor_site_id => ln_vendor_site_id,
x_party_site_id => ln_party_site_id,
x_location_id => ln_location_id);

IF (lc_return_status <> ‘S’)
THEN
IF ln_msg_count > 1
THEN
FOR i IN 1 .. ln_msg_count
LOOP
DBMS_OUTPUT.put_line (
SUBSTR (FND_MSG_PUB.Get (p_encoded => FND_API.G_FALSE), 1, 255));
END LOOP;
END IF;

local_failed_at := ‘SITE’;
RAISE local_exception;
ELSE
DBMS_OUTPUT.put_line (‘Vendor Site Id: ‘ || ln_vendor_site_id);
DBMS_OUTPUT.put_line (‘Party Site Id: ‘ || ln_party_site_id);
DBMS_OUTPUT.put_line (‘Location Id: ‘ || ln_location_id);
END IF;

–Create Contact

p_api_version := 1.0;
p_init_msg_list := ‘T’;
p_commit := ‘T’;
p_validation_level := FND_API.G_VALID_LEVEL_FULL;
x_return_status := NULL;
x_msg_count := NULL;
x_msg_data := NULL;

— p_vendor_contact_rec.vendor_contact_id := po_vendor_contacts_s.NEXTVAL;
— DBMS_OUTPUT.put_line (‘po_vendor_contacts_s.NEXTVAL = ‘ || po_vendor_contacts_s.NEXTVAL);

— P_VENDOR_CONTACT_REC.vendor_site_id := ln_vendor_site_id; –OPTIONAL If you want to attach the contact to a particular site
P_VENDOR_CONTACT_REC.PERSON_FIRST_NAME := ‘windows7bugs’;
P_VENDOR_CONTACT_REC.PERSON_LAST_NAME := ‘blog’; — Mandatory
P_VENDOR_CONTACT_REC.PHONE := ‘22445566’;
P_VENDOR_CONTACT_REC.EMAIL_ADDRESS := ‘admin@nocom.com.kw’;
P_VENDOR_CONTACT_REC.URL := ‘http://windows7bugs.wordpress.com&#8217;;
P_VENDOR_CONTACT_REC.org_id := 101; — Security Organization Id
p_vendor_contact_rec.party_site_id := ln_party_site_id;
— p_vendor_contact_rec.org_party_site_id := 2273595; –optional, system autofills the column with party_site_id used
p_vendor_contact_rec.VENDOR_ID := x_vendor_id;
p_vendor_contact_rec.prefix := ‘MR.’;
x_vendor_contact_id := NULL;
x_per_party_id := NULL;
x_rel_party_id := NULL;
x_rel_id := NULL;
x_org_contact_id := NULL;
x_party_site_id := NULL;
apps.ap_vendor_pub_pkg.create_vendor_contact (p_api_version,
p_init_msg_list,
p_commit,
p_validation_level,
x_return_status,
x_msg_count,
x_msg_data,
p_vendor_contact_rec,
x_vendor_contact_id,
x_per_party_id,
x_rel_party_id,
x_rel_id,
x_org_contact_id,
x_party_site_id);

IF x_return_status <> ‘S’
THEN
IF x_msg_count > 0
THEN
FOR v_index IN 1 .. x_msg_count
LOOP
fnd_msg_pub.get (p_msg_index => v_index,
p_encoded => ‘F’,
p_data => x_msg_data,
p_msg_index_out => v_msg_index_out);
x_msg_data := SUBSTR (x_msg_data, 1, 200);
DBMS_OUTPUT.put_line (x_msg_data);
END LOOP;
END IF;

local_failed_at := ‘CONTACT’;
RAISE local_exception;
ELSE
DBMS_OUTPUT.put_line (‘X_RETURN_STATUS = ‘ || x_return_status);
DBMS_OUTPUT.put_line (‘X_MSG_COUNT = ‘ || TO_CHAR (x_msg_count));
DBMS_OUTPUT.put_line (‘X_MSG_DATA = ‘ || x_msg_data);
DBMS_OUTPUT.put_line (
‘X_VENDOR_CONTACT_ID = ‘ || TO_CHAR (x_vendor_contact_id));
DBMS_OUTPUT.put_line (‘X_PER_PARTY_ID = ‘ || TO_CHAR (x_per_party_id));
DBMS_OUTPUT.put_line (‘X_REL_PARTY_ID = ‘ || TO_CHAR (x_rel_party_id));
DBMS_OUTPUT.put_line (‘X_REL_ID = ‘ || TO_CHAR (x_rel_id));
DBMS_OUTPUT.put_line (
‘X_ORG_CONTACT_ID = ‘ || TO_CHAR (x_org_contact_id));
DBMS_OUTPUT.put_line (
‘X_PARTY_SITE_ID = ‘ || TO_CHAR (x_party_site_id));
DBMS_OUTPUT.put_line (”);
END IF;

COMMIT;

EXCEPTION
WHEN local_exception
THEN
IF local_failed_at = ‘SUPPLIER’
THEN
DBMS_OUTPUT.put_line (‘API failed at Supplier Creation’);
ELSIF local_failed_at = ‘SITE’
THEN
DBMS_OUTPUT.put_line (‘API failed at Site Creation’);
ELSIF local_failed_at = ‘CONTACT’
THEN
DBMS_OUTPUT.put_line (‘API failed at Contact Creation’);
ELSIF local_failed_at = ‘NUMBER’
THEN
DBMS_OUTPUT.put_line (‘API failed at getting Supplier Number’);
END IF;

ROLLBACK;
WHEN OTHERS
THEN
DBMS_OUTPUT.PUT_LINE (SQLERRM);
ROLLBACK;
END;
[/code]

You can download the .sql file from here

Please post your comments, if you come across issues.

regards,