Hope you and your loved ones are safe and secure during this tough period. I am home stuck from almost 3 months and hoping that the normality will resume very soon.
So, during the lockdown I’ve decided to take some “risks” by upgrading my production computers/laptop with the forthcoming version of Windows 10 2004 for Windows Subsystem for Linux aka WSL2 using Windows Insider preview ISO.
I work with real Linux enterprise servers at work & throughout last 10 years got myself accustomed with writing simple shell scripts and other Linux specific activities, so that I can handle them as comfortable as I interact with Windows Servers. I usually don’t get in to the silly arguments like which OS is better by comparing the features & other aspects. We never had issues with Windows Servers, neither had issues with Linux servers as we maintained them meticulously.
So, why subsystem for linux is important? Well, not many have the luxury of working with Linux servers. Especially students and developers from small business which depend completely on Windows environments. Subsystem for Linux on Windows opens doors for those who desperately need Linux environment & WSL is their friend. Unlike a virtual machine hosted on Oracle VirtualBox or VMWare, the user don’t have to dedicate hardware resources specifically for WSL & environment is always available. The only feature you may lack should be the ability to start the services automatically. Well, I am sure within a short time Microsoft will figureout a way to.
Okay, let us see how we can start availing WSL2 on Windows 10 already!
Please note, if you are not ready to take the responsibility of what you are going to do, please don’t attempt the below instructions which includes upgrading your Windows 10 version with yet to be officially released version of the same OS.
Once you upgraded your Windows 10 to version 2004
You are all ready to go. Please make sure that you have all the cumulative updates applied before proceeding.
Please note, if you are using Oracle VirtualBox on regular basis, I will suggest that you reconsider proceeding further. Enabling few of the Windows 10 features for WSL2 will completely compromise/degrade the performance of the Virtualizer and you will not even able to start your virtual machines (at times)
In order to avail the WSL2 functionality, you will have to enable few additional features of Windows 10.
I am upgrading my existing WSL to WSL2. If you are trying to configure WSL for the first time, Please refer documents explaining how to thoroughly (I have few posts towards enabling WSL with my blog, you may refer them)
You need to enable “Virtual Machine Platform” and restart the computer before upgrading WSL to WSL2.
Alternatively, you may use powershell as administrator to enable these features.
Please note, if you are using PowerShell, make sure that after enabling the features, you will restart the computer as both shell commands have /norestart switch
Once you restart the computer, you can try to upgrade your existing WSL to WSL2
Either from elevated PowerShell or CMD issue the following command
wsl --set-default-version 2
This is going to take a while, to complete. Once the upgrade has been completed you can start upgrading your existing WSL distros.
Before upgrading your WSL distros, you need to update the existing WSL kernel. Currently, you need to download and manually install the upgraded kernel, and let us hope Microsoft will include the kernel updates for WSL within their update packages.
Open a command prompt as administrator and issue the following command
wsl --list --verbos
This should list all the distros you already have on your system and the corrsponding WSL version numbers associated
So, my work laptop has 2 distros and both are already upgraded to WSL2. Regardless, let us see how we can upgrade an existing WSL1 distro to WSL2
Consider my distro listing was showing VERSION information as “1” instead of “2”, then I would have issued the following command to upgrade my Ubuntu-18.04 distro
wsl --set-version Ubuntu-18.04 2
That’s all. Your distro will be upgraded to version 2.
My personal takes on WSL2
Well, my interest towards new features are limited to getting them installed and configured. I’ve had very limited handson with the upgraded Ubuntu distro and I was able to have a buttery smooth experiece with XRDP this time. To my utter surprise, Mozilla Firefox loaded without crashing & I felt I was truly interacting with a real Linux machine.
Please refer my previous posts towards WSL about installing XRDP, MySQL and other software those are usually configured on Linux environments.
Guys, almost every other tip and tricks I have listed are coming from many sites and I encourage you to visit those sites for further reading. All I have done was to put them in single place and to post this consolidated thread.
I will be investing more time for WSL2 once after I get back to Office & hoping to post more interesting stuffs based on my findings. Until then, please stay safe and healthy.
WSL 2 is almost here! and if you are here, reading this post. Please consider reading about WSL 2
During one of the recent chit-chats, few of my contacts were asking me about the “real” business sense behind Linux on Windows. It is simple. Microsoft is:
Going to integrate LINUX so deep within Windows that, in the very near future, one don’t have to run a separate LINUX Server. Simple like that.
After experimenting with KALI Linux WSL, I managed to install Xfce & XRDP on Ubuntu 18.04 WSL & the only few things I couldn’t do with the WSL was starting services automatically when the subsystem starts. There are hacks, well, I don’t think they really worth a try soon as Microsoft will BE bringing it on to WSL pretty soon.
Now, let us get back to the topic. I’ve installed Ubuntu 18.04 WSL nothing less than half dozen times. Every time something goes wrong & I am forced to uninstall and re-install the WSL to continue with additional experiments. My last attempt was to install Kubuntu desktop, that screwed my Xfce & after 2 days of continuous efforts to “fix” few “unknown” things, I had to uninstall one Ubuntu WSL that had a fully functional WordPress instance :(
So, I decided to learn how to backup a functional WSL, so that if something goes wrong, I can restore & continue
I’ve ready at few places that Windows 10 version 1903 comes with WSL backup functionality out of the box. Until you decide to upgrade your box to 1903, you may use the below for backing up your dear WSL instance.
I came across a pretty decent thread here & a user Jaime’s answer is the apt ONE, missing only few details like /tmp folder.
Where /mnt/c is C:\> drive of your Windows Machine. You may change /mnt/c/ to /mnt/d/ or /mnt/e/, based on how your partitions are laid. Closely watch the excluded directories. You MUST exclude them.
My tar ball was around 1.5GB in size & I moved the tar ball to another machine which didn’t have WSL activated.
First you have to enable Window Subsystem for linux from Turn Windows Features on or off (If you are not restoring the backup to same Windows Machine). This will ask you to restart your Windows Machine.
If you are going to restore a Ubuntu 18.04 WSL rename launcher.exe to Ubuntu1804.exe & rename your tar ball to rootfs.tar.gz
Open an elevated command prompt & switch to D:\wsl
and just execute, for example “Ubuntu1804.exe”
It will take a while for the installation to complete. As the superuser thread states, it installs and opens the WSL for you. From next time, all you need to do is to start Ubuntu1804.exe & your WSL instance is up and running!
However, I had an issue with the restored instance. It was related to missing /tmp folder. I found a solution for it with nixcraft article.
As many of us know, starting from Windows 10 1803, Microsoft has made Windows subsystem for Linux running in the background even after the console windows are closed.
Definitely this is a gain for those developers who want to have a Linux environment available always, regardless whether the console windows open or not. My requirements towards the same is pretty limited, as I have live Linux systems for almost all my experiments. However, was never less motivated to explore the WSL environments.
Last time I posted a thread about installing and configuring Ubuntu 18.04 WSL and setting up apache, MySQL.
This time we will see how you could enhance your Ubuntu 18.04 WSL with a proper GUI (Desktop environment). I am sure, majority of the Windows users will appreciate a GUI to interact with Linux against the Linux geeks who prefer command line interactions. In addition, few editors like geany or gedit ONLY could be used in a GUI environment.
We will be using Xfce (light weight desktop manager) & XRDP to achieve the GUI requirements on Ubuntu 18.04 WSL
Fire up your Ubuntu 18.04, and update the instance to the latest
sudo apt update && sudo apt upgrade
This could take a while to complete depending upon your internet connection speed
Once the update & upgrade finished, we will install both Xfce & Xrdp in a single session
sudo apt install xfce4 xrdp
The installation should be pretty smooth and within few minutes everything should complete. Not a single attempt from my end failed to install both Xfce or Xrdp
Once the installation is over, we MUST make sure that the XRDP doesn’t use port 3389 which is used by Microsoft RDP (in case if your Windows 10 is already configured for RDP). Hence we will edit the XRDP configuration file with a different port, in our case 3390
sudo vi /etc/xrdp/xrdp.ini
Change the port from 3389 to 3390 & save the file.
Now we will try start the XRDP service
rajesh@rt04:~$ sudo service xrdp start
* Starting Remote Desktop Protocol server [20190509-12:13:49] [DEBUG] Testing if xrdp can listen on 0.0.0.0 port 3390.
[20190509-12:13:49] [DEBUG] Closed socket 6 (AF_INET6 :: port 3390)
[ OK ]
rajesh@rt04:~$
That’s it
Open Remote Desktop Connection from your Windows Machine & log on!
Supply your WSL username and password. You can use ONE of the existing WSL usernames, in case if your WSL have more than one user.
One of the main issues I found using Xfce4 was few goodies like print screen should be installed by the user prior screenshot capturing could be made (I took screenshots from the remote session & copied them to Windows for this post). This will include adding new keyboard shortcut keys.
We’ll quickly see how to resolve the above said
First install missing “xfce4-screenshooter”
sudo apt install xfce4-screenshooter -y
Once the package installation finished, we will define a new keyboard shortcut that binds “Print Screen” physical button on the keyboard to Xfce4 screenshot shooter package.
Launch Applications -> Settings -> Keyboard
and using the “Add” button, Create a new shortcut. Xfce4 supports different switches to be used with screenshooter package. I’m using the “-f”, for full screen captures.
Be careful when you define the keyboard shortcuts. There is a space between the command and switches, for example
xfce4-screenshooter -f
There is a space between xfce4-screenshooter & the switch “-f”. Once after entering the command and pressing OK will ask you to tap the physical keyboard button that you want to bind with the command. Tap “PrtScr” or other button of your choice & that’s all. Your screen capture should work now.
So why one would even need a GUI over WSL. Well, my answer is short. I always dealt with systems those came with GUI. Many business applications could only be installed over a GUI equipped system. Plus, I am not a geek & after hundreds of attempts I cannot deal with a console based editor like VIM. I feel comfortable with geany/gedit than feeling geeky at mind.
Cheers guys, now your WSL have a GUI. Start think about what YOU can’t do with WSL!
Almost a year back I posted about Linux Subsystem for Windows & interesting that I am revisiting the subject in the same period once again. Within an year time loads have changed with the Linux subsystem. Starting from Windows 10 version 1803, once started the Linux Subsystem is available in the background until a reboot! Sounds great?
This time we will see such an enhancement could be utilized on Windows for some extended “developments”, and I will walk you through setting up “WordPress” using WSL. Please note, I am opting “WordPress” as target ONLY for few reasons like:
“WordPress” is developed using PHP
“WordPress” mostly uses MySQL for database
“WordPress” is mostly hosted on LINUX environments
Windows SubSystem for Linux Installation
You must enable “Windows SubSystem for Linux ” through “Turn Windows Features on or off”, after which you will have to reboot your Windows box
Open “Windows Store” and search for Linux, that should bring up many results as seen with the image below
We’ll be using Ubuntu 18.04 LTS this time as I had pretty difficult issues with Pengwin & SUSE. If you are familiar with Linux, Ubuntu is a debian based Linux distribution & widely used for desktop systems. For our limited tests Ubuntu is a right choice.
Total download of Ubuntu 18.04 is around 270MBs & should be installed without giving any troubles.
Once “Ubuntu App” is installed you will be notified and you can immediately “launch” the app.
Ubuntu takes few minutes to finalize the installation & will prompt you to enter a username & password. Make sure you remember the username and password, forgetting may force you to reinstall Ubuntu.
Immediately after setting up a Linux username and password, we will make sure that the Subsystem is upgraded with all new packages.
(While apt & apt-get do almost the same thing, why “apt” is preferred? please read about it here)
Apache installation should not take more than few minutes & we will see how to configure it bit later.
MySQL installation
I faced multiple issues installing MySQL on my Ubuntu based WSL. Few were merely because I was ignoring few pre-requisites like checking for already open ports on my Windows & other were due to lack of adequate amount of experiences with installing software on Linux
After a couple of failed attempts, I landed upon this page, which neatly explains how to use MySQL PPA in the place of Ubuntu’s default repositories for MySQL
I will make some fresh screenshots, that is for recent versions of MySQL installation using the MySQL PPA, because there are few more MySQL versions are supported currently using the same PPA
Now we have a conflict to resolve. As on date, the MySQL 5.7 repository signature is invalid, for the same reason the repository will be disabled. (I don’t know what kind of issues this could produce, so not taking any risks). Next step we will get a valid signature for the disabled repository and re-enable it
Now we can start installing the MySQL 5.7 Server. Please note, if you already have an instance of MySQL running on your Windows, the port 3306 will be in use (unless custom ports are used) & you WILL never able to complete the MySQL installation on WSL. Many undocumented errors will stop the MySQL installation, apparently without giving you the least ideas of what went wrong. So, make sure that the MySQL server is stopped and the port is not listening to port 3306. I don’t know another way to address this situation.
You will be prompted for MySQL root account. I suggest using the same password across this particular setup so that you will not mess them up later stages.
Confirm the MySQL root password
That completes the MySQL 5.7 Server installation.
Now, let us try to start the MySQL 5.7 Server service.
MySQL 5.7 service is started now. So we can proceed to installing phpmyadmin, MySQL manipulation software.
As we are using Apache2 as web server, make the selection by tapping the spacebar and Ok
You will be asked whether the database for phpmyadmin should be configured, You should select Yes, unless you want to do it later.
You will be asked to provide the a password now, that is for the phpmyadmin, use the same MySQL root password here (you can use a new password, just to avoid confusion, I use the same password everywhere)
You have to confirm the password.
Now you will be asked to enter the MySQL administrator(root) password, supply it
Confirm & wait for the phpmyadkin to complete the installation
Installation will notify you about Apache not being running, you can ignore the notice.
Now we will start the Apache Server. Couple of things you should take care with Apache & I will try to list few of them below:
As the WSL runs as another software on Windows, it is bind to experience conflicts. For example, if you already have IIS server listening to port 80, without changing the port information for Apache, will not able to start the server until the ports information is corrected within the Apache configuration file.
If you already have MS SQL server installed with reporting, the reporting engine listens to port 80, so even if you would stop or disable the IIS/WWP services, there is a possibility that port conflicts will arise. This will also prompt you to alter the default port mentioned in the Apache configuration file
So let us see how we are going to address such conflicts:
Edit the Apache ports configuration file
[code language=”bash” gutter=”false”]
$sudo vi /etc/apache2
[/code]
I opted for port 8088 (You can choose a port that is NOT used by Windows. Issue netstat -aon to get a list of ports open/listening on Windows from CMD
100% sure that you are going get presented with an annoying notice “ Protocol not available: AH00076: Failed to enable APR_TCP_DEFER_ACCEPT” which is easily addressable.
We will edit the apache configuration file to address this issue
issue the command
[code language=”bash” gutter=”false”]
$sudo vi /etc/apache2/apache2.conf
[/code]
& add “AcceptFilter http none” by the end of the file.
Save the configuration file & restart the Apache service.
As we have completed all the installations and managed to start the services successfully after fixing the configuration files, it is time to reboot.
WSL unfortunately doesn’t let you use “init 0”, or “init 6” to shutdown or restart the instance, instead you must use the Windows Services MMC for the same.
This will close all open Ubuntu “app” windows. You can restart the Ubuntu from the app list.
Once Ubuntu restarted, let us start the services
[code language=”bash” gutter=”false”]
$sudo service apache2 start
$sudo service mysql start
[/code]
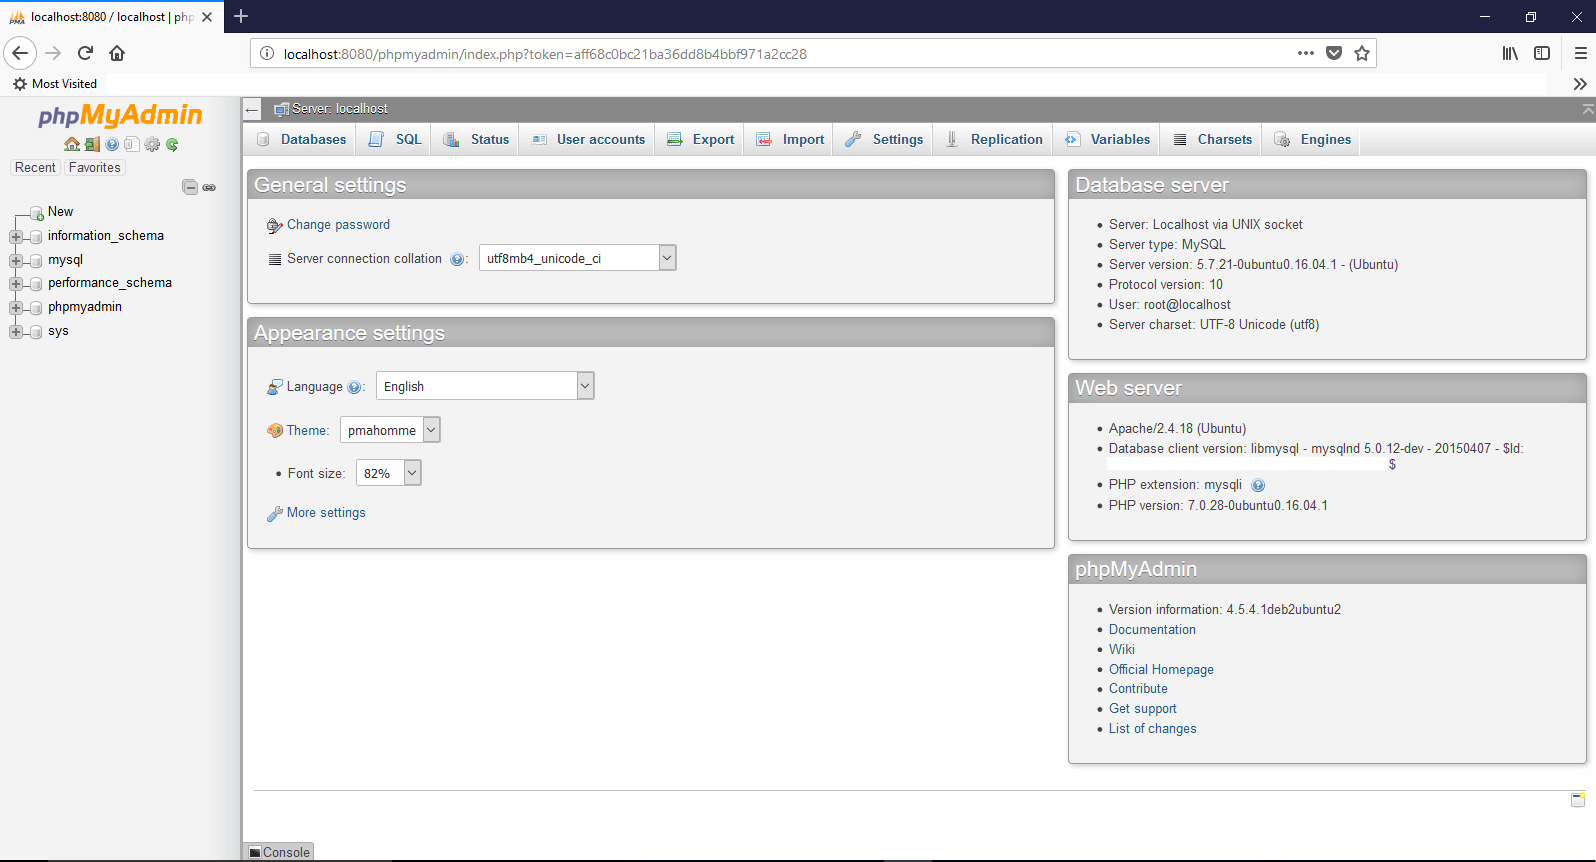
Once the services are started, we will try phpmyadmin. As I mentioned already, I have set the port 8088 for Apache, hence I can access the phpmyadmin from the link http://localhost:8088/phpmyadmin
You can safely ignore the warnings, as the current version of phpmyadmin we installed from Ubuntu repos have certain conflicts with PHP 7.2
Install “WordPress”
“WordPress” is one of the leading CMS (Content Management Systems) with unlimited possibilities. Recently we switched our decade long joomla based corporate website to “WordPress” & after few days of interactions with the technology, I feel I would never look anywhere else.
This will download the latest “WordPress” to your home folder
Now we have to extract the downloaded file to right htdoc root. We are talking about the default configurations available with apache configuration files. Hence the wordpress should be extracted to ‘/var/www/hmtl/’ folder, which is a protected path. We’ll change the folder permissions temporarily to facilitate the extracting
Now we have a problem, “WordPress” installation cannot write to “wp-config.php” file. This is due to linux file/folder permissions. Hence we will again change the permissions over ‘/var/www/’ folder
Now, go back to the previous page, furnish the details and “WordPress” should happily move ahead. Run the installation
That completes what we tried to achieve. “WordPress” running successfully from a WSL environment.
Now, it is time to ask the questions like “Why so much pain, when we can achieve the entire “WordPress” thing on Windows?”
Well, primarly “WordPress” performs better on Linux enviorment (personal observation), second & most important for me. I just love learning something new everyday. You are welcome!
Microsoft has added WSL with it’s Server 2016 (Version 1803) & the vision is pretty clear. Microsoft “wants” to provide a LINUX environment within Windows so that in the future, a separate LINUX Server requirement will NOT truly hurt the customers. Currently the WSL is NOT equipped with desktops/GUI & Pengwin like initiatives are sure making traction. If my guess will NOT go wrong, soon Windows Servers will be running “Linux” side by side & those Linux Servers are going to be as good as physical/Virtualized. We’ll wait eagerly, together.
The good thing is I found a “solution” myself after wasting almost a working day, just because I was stupid enough not to read my own POST dealing with it :/
I will publish a new POST detailing what has changed & how you could avoid getting into a mess with WLS LAMP installations & configurations in a day or two.
Update: 18th April 2019
Although I was able to successfully install LAMP on multiple Windows 10 stand alone machine WLS, yet to figure out a way to install MySQL on a Windows machine running WLS that has already joined a domain. I am not sure whether it is due to some domain policy related issues, access issues or due to a corruption with my Windows. I will definitely try to find out the root cause (hopefully).
====
Usually I prefer a virtual machine for all my Linux/Development requirements. Well, Microsoft is “trying” to setup a Linux subsystem within Windows 10 from a while, which is “yet” to be fully functional in many means. Many benchmarks proven that Microsoft Subsystem for Linux for has the poorest I/O which Microsoft claims, will be addressed in the future releases.
So, why someone will choose WSL against a VM which has better functionalities? From an eager inquisitive person’s perspectives, I will choose WSL for just couple of reasons and they are:
WSL could access the full hardware, when a VM has limited resources. Ie, say your computer running has 4 cores and 8GB memory, you will be limited to 2 cores for your VM (anything beyond that would cause unexpected issues) and maximum of 4GB memory. Here WSL don’t have such limitations, it could access all your 4 cores and the maximum memory & could be launched like just another win32 application!
I’ve been trying to setup WSL using both Ubuntu & OpenSUSE Leap 42.3 over my Windows 10 1709 & I had better results with Ubuntu. OpenSuse has many issues those were beyond my skills to address and resolve. Hence, I chose to stick with Ubnutu for now.
So, installation of WSL on Windows 10 recent versions were made pretty easier compared to the previous releases. A seasoned Windows user could install Ubuntu for WSL very easily by following the instructions below
Once rebooted, from the Windows store, search for Ubuntu or OpenSUSE and just install it! That simple it is.
Once installed, as mentioned with the first image, one can start the WSL either from command prompt or by clicking the tile that is available with the start menu.
As a developer, I would take the pain to setup the WSL for ONLY few reasons like testing PHP application(s) those are based on MySQL database (and outta curiosity)
So next, let us see we can setup LAMP server (LAMP is an archetypal model of web service stacks, named as an acronym of the names of its original four open-source components: the Linux operating system, the Apache HTTP Server, the MySQL relational database management system (RDBMS), and the PHP programming language. The LAMP components are largely interchangeable and not limited to the original selection. As a solution stack, LAMP is suitable for building dynamic web sites and web applications) on our new WSL
You may refer to this post for a detailed information about how to install individual components like apache, MySQL and PHP. Please note, the link that I provided deals with PHP5, which is not anymore available from Ubuntu repositories, hence I chose to go ahead with PHP7.0 for my WSL instance
Issue the following command(s) to install Apache, MySQL,PHP and phpMyAdmin
During the installation, you will be prompted for setting up MySQL root credentials, which is mandatory in order to access the MySQL server at later stages using phpmyadmin module
For PHP, you must install libapache2-mod-php, else you would experience php pages being blank when functions like phpinfo(); are called.
Once the packages are installed (without errors) you can restart apache to verify everything is working fine
[code language="text" gutter="false"]

sudo service apache2 restart or sudo /etc/init.d/apache2 restart

[/code]
If your windows box already has IIS listening to port 80 and a Windows instance for MySQL is listening to port 3306, then you must change the ports for both apache and MySQL before restarting the services.
MySQL installation will GET IN TO a number of undocumented errors if you have another instance of MySQL listening to 3306 (ie, on your Windows box). Hence make sure that you shutdown the instance before attempting to install MySQL on WLS. Please remember, WLS is not another virtual machine, so if a port is open on your “HOST”, that is definitely a conflict for the WLS.
For changing the port of Apache server edit the following file
During the installation you will be prompted for selecting the http server stack and password for MySQL root account. You must provide the root password that you have set during the MySQL installation at this prompt
Once the phpmyadmin is installed, you need to manually enable couple of extensions and they are dealt like following:
(I did a fresh WLS instance on 17th April 2019 & the phpmyadmin installation has changed a little bit here and there, asking for the webserver & an additional setup that helps to setup the phpmyadmin user passwords etc)
[code language="text" gutter="false"]

sudo service apache2 restart

sudo service MySQL restart

[/code]
Example:
[code language="text" gutter="false"]

rajesh@rt04:/etc/apache2$ sudo service apache2 restart
* Restarting Apache httpd web server apache2 [ OK ]
rajesh@rt04:/etc/apache2$ sudo service mysql restart
* Stopping MySQL database server mysqld [ OK ]
* Starting MySQL database server mysqld [ OK ]
rajesh@rt04:/etc/apache2$

[/code]
Now you can see that there are no errors or warning while starting both apache and MySQL. So let us go ahead and check phpmyadmin
That’s all folks!
There is no shutdown for WSL, just type “exit” and you are good. I am yet to test whether mere exiting does anything harmful to running instances of apache and MySQL. Until I find them…
Finally
I don’t really understand why, yet, many users are asking for a “way” to ssh into the Linux subsystem. The pre-installed openBDS ssh server doesn’t allow a connection from clients like putty. Hence a re-installation of SSH server is required.
[code language="text" gutter="false"]

sudo apt-get remove --purge openssh-server
sudo apt-get install openssh-server
sudo service ssh --full-restart

Create a firewall inbound rule if required

[/code]
Now you should able to connect to WSL instance using a client like putty.