Hi guys
Update 8th November 2019
Guys, I have different threads towards specific version of Weblogic 12c & Oracle Forms and Reports installation, configuration(s). Please refer the thread specific to the version of Weblogic & Oracle Forms & Reports that you are trying to install.
Update 23rd October 2016
I was trying to answer one of the comments and realized that my database schemas those were created during repo creation were with expired passwords and the “WebLogic Admin Server” will not start. So, you are advised to setup your 12c database with no password expiry, no complex passwords etc (as far you are using the environment for development)

Important:
If for some reasons you cannot update your Windows 10 box, minimum make sure that you have Visual C++ 2012 package installed, which will provide you the much needed “MSVCR110.dll”, without which the Apache HTTP server will not start on Windows. This workaround is not at all an excuse for not patching your Windows box using update services.
Update: 03rd June 2016
I’m revisiting few of the claims which were true during the early builds of Windows 10, however not anymore having the same issues with the latest build & after cumulative updates. My Windows 10 boxes run the following build with all updates in place.

I’ve enabled the IPV6 protocol by deleting the explicit key that I created under TCPIP6 parameters & once after restarting the boxes, was able to start all the weblogic services and OHS instance successfully. However, I have made the following change
Pointed all the servers, “Admin Server”, “WLS_FORMS” and “WLS_REPORTS” to the hostname, instead of leaving the listening address empty. Eg: rajesh-pc. As I mentioned and re-iterating, whole the exercises described are those worked in my lab environment. Any attempts to use them at a production environment could prove you WRONG and disastrous situations may arise by not following Oracle’s guidelines.
This time, I will try to explain how you can setup few 12c products for your testing and developing needs in Windows 10, Microsoft’s latest desktop operating system (The same should be applicable for Windows 8.1 as well)
My scenario
- OS: Windows 10 64bit Professional
- Memory: 16gb
- Processor: i7
- Storage: Around 4.6 TB (4 Disks)
Software downloads required for the setup
- Oracle database 12c
- JDK
- Middleware aka Weblogic Server 12c
- Forms and reports 12c
You can download the above software packages from Oracle’s repositories
Why Oracle Database 12c?
Unfortunately, Weblogic server 12c doesn’t support database versions below 11.2.0.4, which will require an existing 11g R2 (11.2.0.2) to be upgraded. This upgrade (patch, full installation) is only available for customers with valid support subscriptions, hence the best option available is installing Oracle 12c database in order to setup Weblogic 12c with Forms and Reports 12c
Part 1 – Oracle database 12c Installation
The software package you download will have 2 zip files & You must extract both the zip files to a single folder

For example, as you could see with the above image, I have two zip files for the Oracle database and have created a folder called “Installer”. I extracted the 1st zip file inside the “Installer” folder (by pointing to the extract folder explicitly, else usually the unzip utility will create a folder within “Installer” with the zip filename. Make sure once after the extraction, under “Installer” folder, you have ONLY ONE folder called “database”
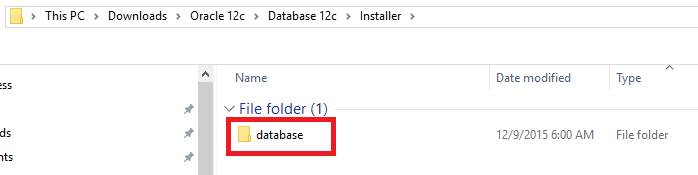
Now extract the 2nd zip file to “Installer” folder, and Windows will merge the folders and finally you should see within “database” folder items as listed below

Failing to follow the above will fail your attempts to install the database. You will see few images below those are due to extracting zip files into different folders
Execute the setup.exe

You don’t have Oracle support, so uncheck the “I wish to…” and smile at the warning that Oracle never forgets to display

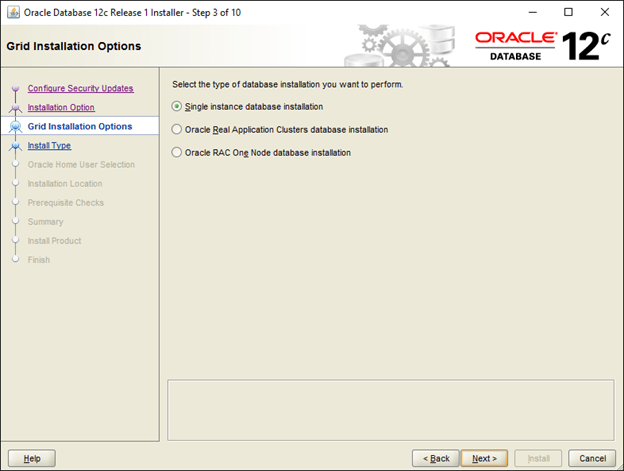
Recently I realized that creating a database once after the Oracle software installation gives me more options to setup archive logs, automated backups etc. So I will proceed with “Install software Only” option

Add the languages you want to use with the database


Oracle has a new approach with who starts the Oracle software in Windows environments and I think it is better to have a dedicated user to start the Oracle services, which provides better security. I created a user called “Oracle” and my password is:

Old fashioned, I prefer the database installation path to start with “Oracle”, hence I chose “D:\Oracle” for the installation. You can accept the default and proceed with the installation


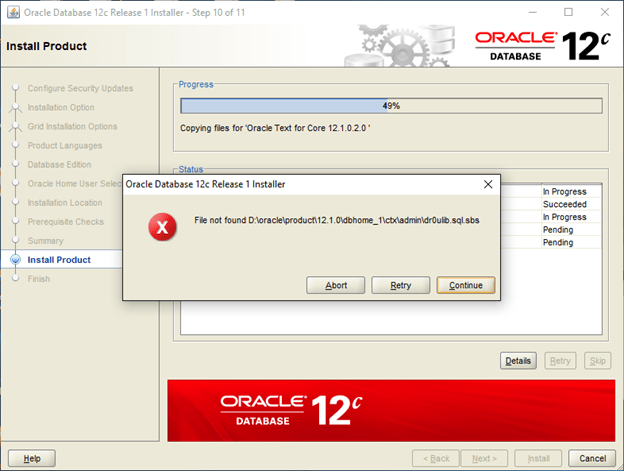
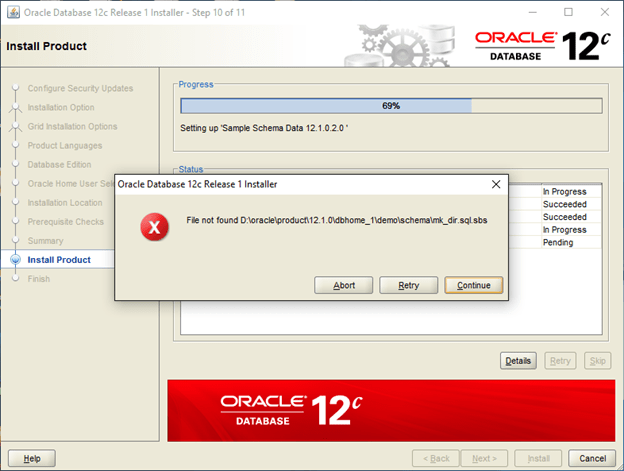
Now, comes the errors related to “missing” files, which are due to the wrong extraction method I have mentioned by the beginning of this post. You get a number of read errors for files with strange names…


Once you extracted the files as suggested into a single folder, the Oracle database software installation should progress without giving any kind of errors, keep accepting the JAVA security prompts


Very easy, no hacking at all involved with the installation. Usually a novice (and ME) could get confused reading Oracle’s documents asking the user to extract the zip files to a single folder ;)
Once the software installed, use DBCA to create a new database.
Update Part 1a (1st of March 2017)
Sorry guys, I started getting couple of inquiries about the database parameters for repository database used by 12c Middleware & as I followed multiple documents to setup my environment, didn’t feel that I should exclusively add the database parameterization with my initial post. So, I am adding it with the post for your references

“Oracle” strongly suggests that the repository for Middleware should have “AL32UTF8” as the character set. Hence, while creating the database, please make sure you select the same for your repo database. If you are migrating a legacy application that has issues with this particular character set, I suggest you create a smaller size database exclusively for the Middleware repo and create another database for your application that uses a different character set.
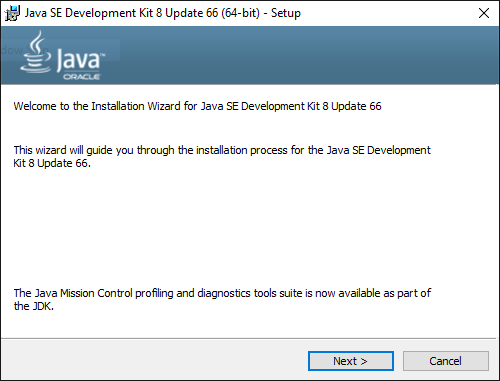
Part 2 – JDK Installation
Download and install JDK 8 (Preferably to a folder like C:\Java, D:\JDK) etc. Shortest the path will help you to easily configure many things at later stages. If you have earlier versions of JRE for some specific reasons, deselect JRE from the feature listing


Part 3 – Weblogic 12c Installation
Once again, Weblogic 12c doesn’t require any specific hacks for installation in Windows 10. Switch to the folder from command prompt where you downloaded “fmw_12.2.1.0.0_infrastructure.jar” and call java to install the package. Please check the below image for details
(I’m leaving the images untouched, so that you will able to see possible errors we can make while typing in commands)

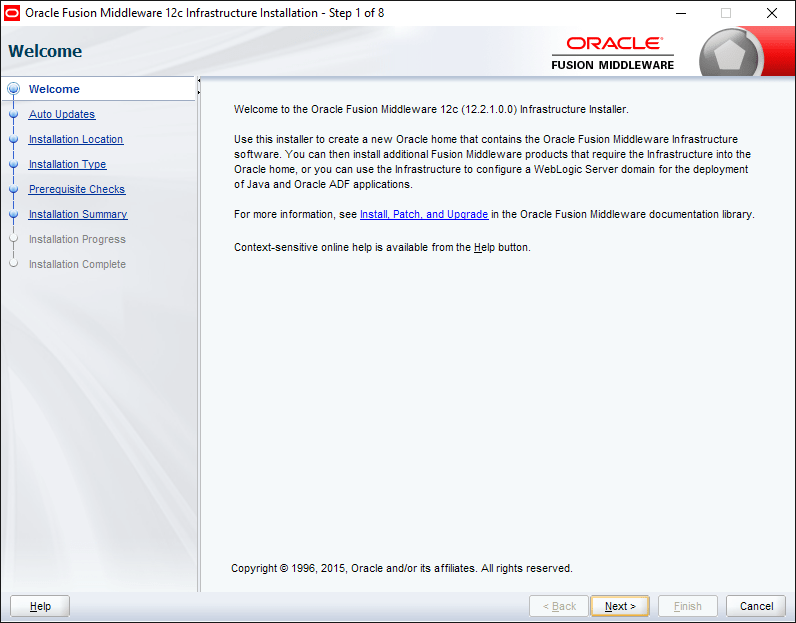
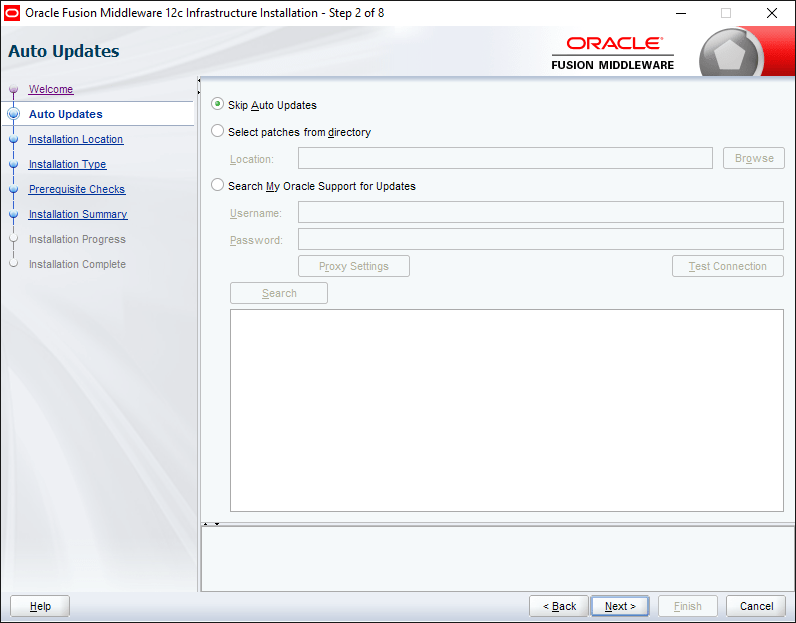
As usual you will skip the updates
Structuring Oracle Home is going to be a logical call, if you are familiar with Oracle’s suggested folder structure, go with it. Usually I install Weblogic in a folder like C:\Weblogic or D:\Weblogic

Now select the first option, Fusion Middleware Infrastructure


Skip the below, and the installation should be completing within few minutes time without making any errors.


Part 4 – Forms & Reports 12c Installation
Forms 12c allows a stand-alone installation, however, our requirement is to deploy applications through weblogic server. Hence we will be doing the standard installation processes facilitating the application deployments.


As usual We will skip auto updates

Make sure you select the same folder where you installed WebLogic server for “Oracle Home”

Select Forms and reports deployment


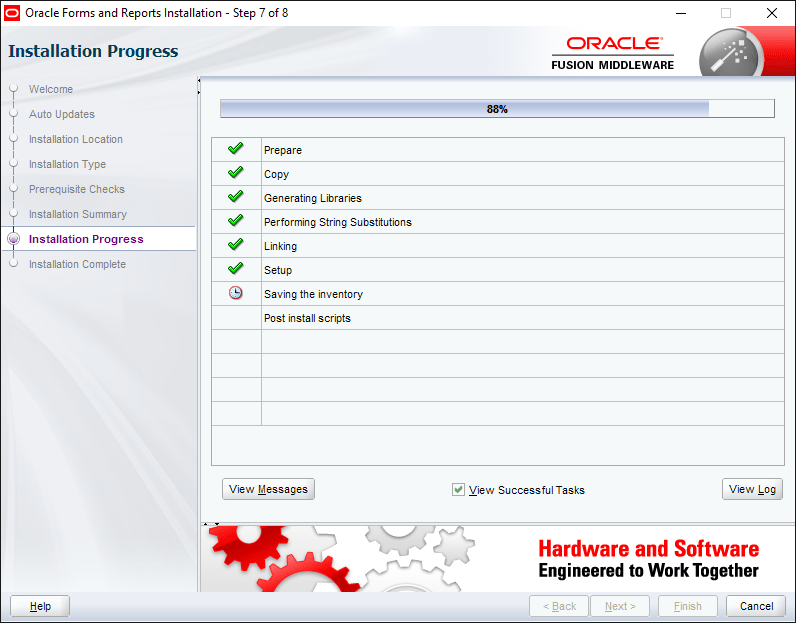

It could take a while until the installation is completed. Usually the total installation process never errors out. I hope the same for you also :)

Part 5 – Create a REPO(?!)
As I mentioned earlier, I am not a Weblogic geek, Oracle says a database repo is required for Weblogic 12c, so I created one as per their instructions & I suggest you better do that as well ;)
Browse to your “D:\Weblogic\Middleware\Oracle_Home\oracle_common\bin” folder and execute rcu.bat file as “Administrator”

The creation of repo is pretty straight forward

Make sure your database & listener services already started and you can TNSPING, connect to the instance using SQL etc, to insure that the repo creation will NOT fail
Fill in your database instance details (Service name, host name, PORT etc)

If the utility could establish a connection to the database, you will be taken to rest of the configurations in next steps.

By default when you are trying to create your 1st repository (for each new domain, you must create a new repo, there were claims that someone managed to use the same repo with his 2nd domain as well, however, 1st domain being offline) You will be offered to create a new prefix, by default ‘DEV’. You can change it to JON, MARTA or PROD according to your requirement. Just make sure that you note it down or remember it while configuring your forms and reports instance at later stages
Select the components as seen with the image below (The selected are mandatory to configure forms & reports domains)


Use a single password for all the schemas those will be created as a part of the repo creation. I have used the same password across 12c products. For a lab, it is okay, however when you are deploying the solution for production environment, follow the recommendations for passwords. I created a password like “Abcprod123”, it has CAPITAL letter, lowercase letters & numbers


That’s all, you have created a new repo for your new domain that you will create later.
Part 6 – Configure your forms & reports domain.
Most important
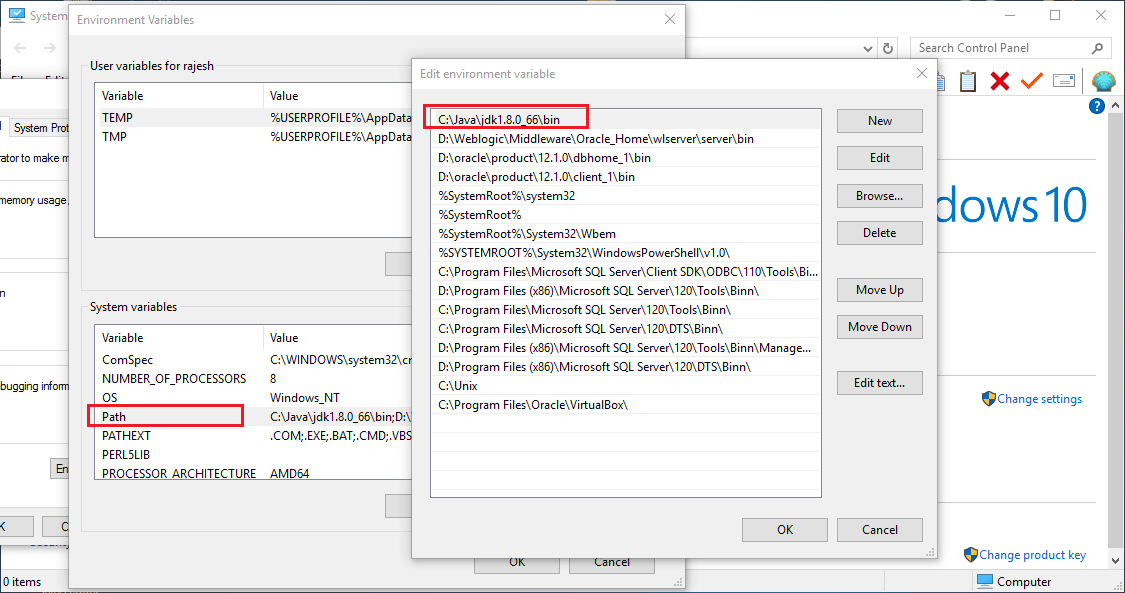
Make sure your PATH environment variable has your JDK\bin folder as the first value, else you will NEVER manage to get your forms and reports builders configured properly, Oracle has made sure of it ;)
Check the below images and cross check your computer’s PATH value

You can start the “config.cmd” either from the start menu or from the “D:\Weblogic\Middleware\Oracle_Home\oracle_common\common\bin” folder (Please change the path according to your installation preferences, for example I opted “D:\WebLogic” for my WebLogic server installation and rest of the paths were created automatically during the installation process)

Select the default “Create a new domain”. You will see that “base_domain” folder is selected by default, which you can change according to your requirement.

Select the component for your domain (Select all the components listed with the image below)

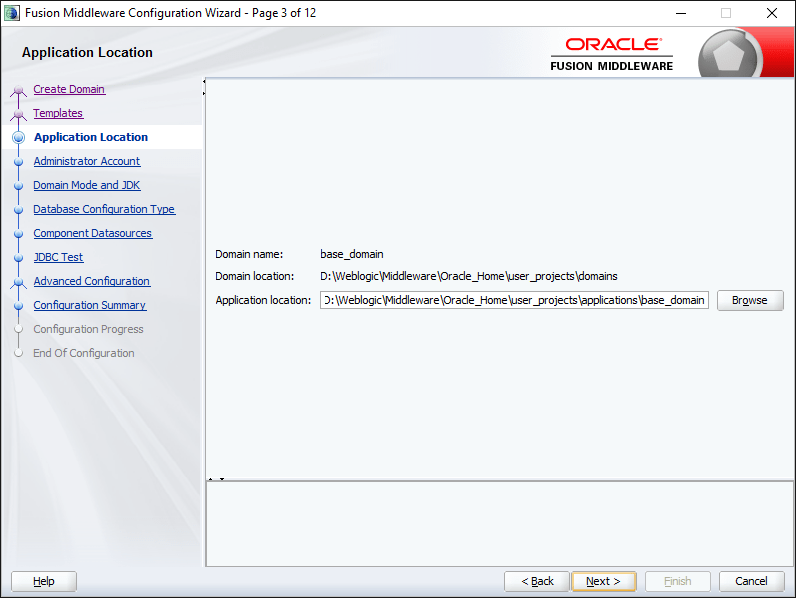
You will be provided a window showing your current domain name, physical location etc
Leave the Weblogic account name as “weblogic” & supply an Alpha Numeric password for the account

Select Production & keep the JDK pointed towards your specific JDK installation, which is automatically selected.

Now you have to supply the repo details you have created earlier. Make sure you are not making mistakes with supplying the details & click “Get RCU Configuration”

You can proceed to next level only once after populating the RCU Configurations, if errors you will not able to proceed

Make sure all the listed elements hare having same Service, HOST, PORT names and the password columns are automatically filled. If any one of the listed row has different value, cancel the installation. It means you made some mistakes while creating the repo.


Once the repo connectivity confirmed, you will be provided a number of components those you could configure as the part of the forms & reports configuration.
Select the components as shown with the image below

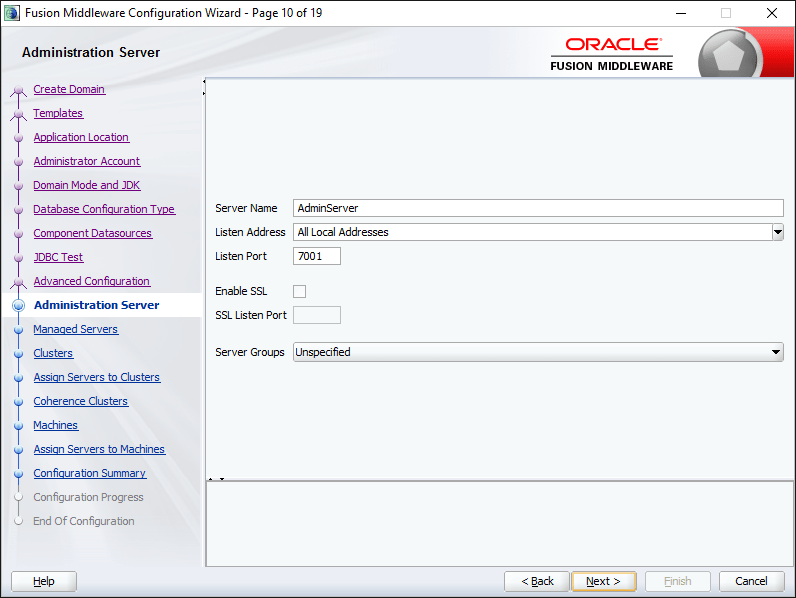
Accept the defaults for Administration Server
Next screen you should be shown two components
- WLS_FORM
- WLS_REPORTS

Accept the defaults


You need to add the “AdminServer” from the left pan “Servers” to the node under “Machines”

This page, as we select OHS as a component, you should add one OHS instance using the Add Button and give it a meaningful name like “ohs1” or “ohs_1”. Make sure the Component Type is “OHS”


You may enter localhost as Listen address for the ohs instance in the next page.

Now add the “ohs1” component from the “System Components” to “Machines” Node


Click the “Create” button to start configuring the forms & reports domain


Once the configuration is over, you will be provided a confirmation screen as seen below. Don’t close this window. We need to perform few more stuffs prior finishing the configuration, said you can close this window by clicking the “Finish” button, just make sure that you have copied the URL, and the foot note shown by the bottom of the window. That note clearly asks you to execute a specific command using WebLogic Scripting Tool, for OHS

Start the node manager from your newly created domain\bin folder (Check the below image for details)

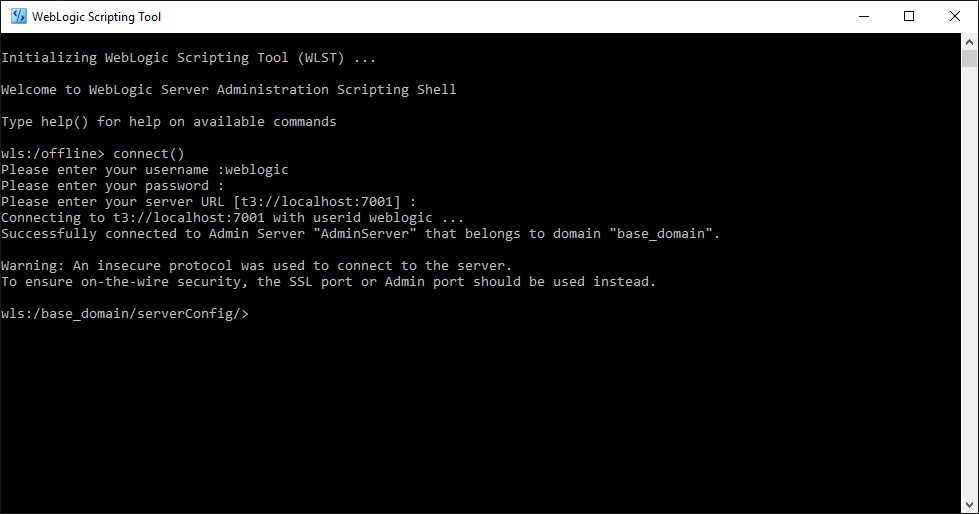
Now, you need to start the weblogic server. When prompted, supply your weblogic username and password

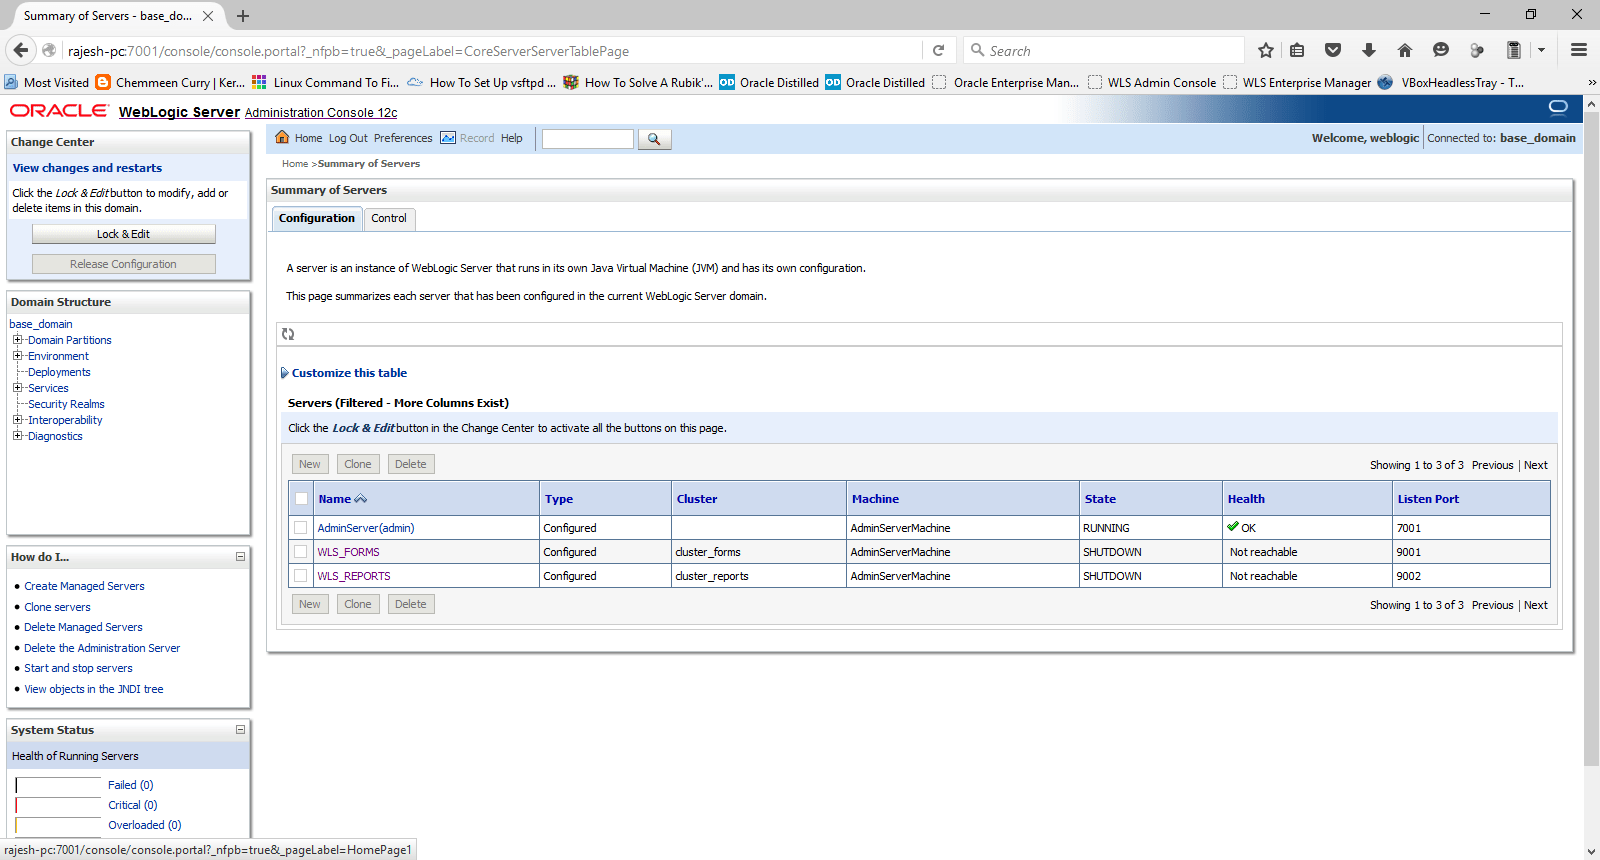
Logon to the WebLogic Admin server console and start the WLS_FORMS & WLS_REPORTS servers, this will trigger setting up much of the start menu components for your installed products, else missing.
Keep monitoring the weblogic server window, Once the server enters into RUNNING mode, you will notice that items are getting added to “Oracle FMW 12c Domain -base_domain” Start Menu folder.

Now you have to start the Weblogic scripting tool & run the instructions provided with the last Window of forms and reports configuration

Please see the below image(s) for details
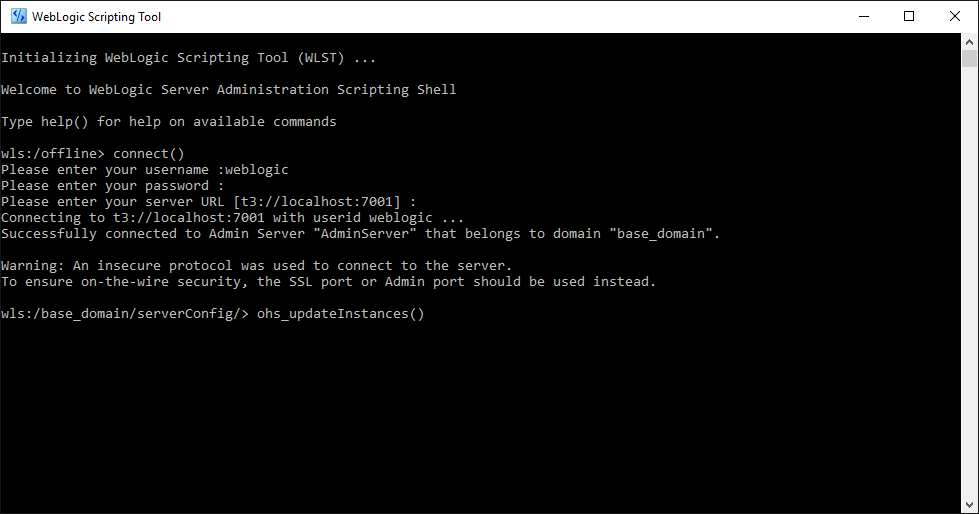
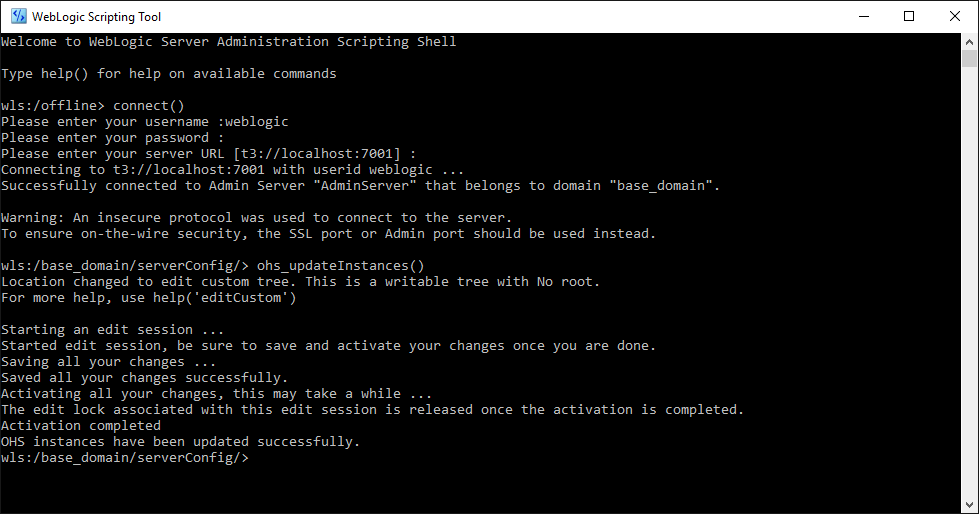
OHS instance should get activated and updated without any issues by the end of the process.
Now you can close the last window of forms & reports configuration and access Weblogic console & Enterprise Manager through the following URL(s)
http://localhost:7001/console & http://localhost:7001/em

You can use the EM console to start your OHS instance (OPMN depreciated) as well. Once started, the OHS instance will be configured to start automatically.
Now We will create the Node Manager Service for Windows. Please check the below image for details

I’ve used “NSSM – the Non-Sucking Service Manager” to create the Weblogic Admin Server Service. You can download NSSM from here. Issue a command like nssm.exe install “WebLogic Admin Server” will popup a GUI where you can select the “….\Oracle_Home\user_projects\domains\base_domain\bin\startWebLogic.cmd” as the executable for the service.

Now, we will configure the last element in this configuration section, Reports Tools instance so that you can start using the report developer 12c. From Weblogic Scripting Tool Console, you can create a new tool instance. Please refer the below image for details.
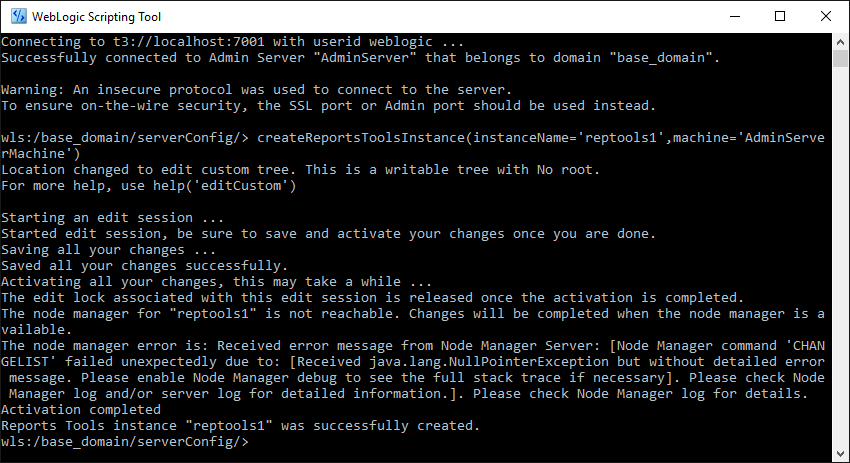
Restart the WLS_REPORTS server using Weblogic Admin console and the reports tool will be configured once after the WLS_REPORTS enters RUNNING status
While the Forms developer could be invoked from the Start Menu folder “Oracle FMW 12c Domain -base_domain”, calling reports builder is pretty awkward. You have to browse to “…\Oracle_Home\user_projects\domains\base_domain\reports\bin\” and execute the batch file “rwbuilder.bat”. Better, you create a shortcut for the batch file on your desktop.
So, that concludes the 1st level installation and configuration of 12c database, WebLogic, forms & reports. I will get back to the thread, with details about how to configure forms and reports elements and deploy modules at a later time.
Updated 8th November 2019
I just realized that I never linked the configurations thread with this post and doing it right now. You can access the thread that explains how to setup/configure Weblogic Classic Domain for deploying Oracle Forms & Reports application through the below link
Configure Classic Domain for deploying Oracle Forms & Reports Applications
Hope you will find the above useful for your 12c installation attempts
for Windows7bugs
rajesh