
Hi guys
Update: 19th April 2019
The good thing is I found a “solution” myself after wasting almost a working day, just because I was stupid enough not to read my own POST dealing with it :/
I will publish a new POST detailing what has changed & how you could avoid getting into a mess with WLS LAMP installations & configurations in a day or two.
Update: 18th April 2019
Although I was able to successfully install LAMP on multiple Windows 10 stand alone machine WLS, yet to figure out a way to install MySQL on a Windows machine running WLS that has already joined a domain. I am not sure whether it is due to some domain policy related issues, access issues or due to a corruption with my Windows. I will definitely try to find out the root cause (hopefully).
====
Usually I prefer a virtual machine for all my Linux/Development requirements. Well, Microsoft is “trying” to setup a Linux subsystem within Windows 10 from a while, which is “yet” to be fully functional in many means. Many benchmarks proven that Microsoft Subsystem for Linux for has the poorest I/O which Microsoft claims, will be addressed in the future releases.
So, why someone will choose WSL against a VM which has better functionalities? From an eager inquisitive person’s perspectives, I will choose WSL for just couple of reasons and they are:
WSL could access the full hardware, when a VM has limited resources. Ie, say your computer running has 4 cores and 8GB memory, you will be limited to 2 cores for your VM (anything beyond that would cause unexpected issues) and maximum of 4GB memory. Here WSL don’t have such limitations, it could access all your 4 cores and the maximum memory & could be launched like just another win32 application!
I’ve been trying to setup WSL using both Ubuntu & OpenSUSE Leap 42.3 over my Windows 10 1709 & I had better results with Ubuntu. OpenSuse has many issues those were beyond my skills to address and resolve. Hence, I chose to stick with Ubnutu for now.
So, installation of WSL on Windows 10 recent versions were made pretty easier compared to the previous releases. A seasoned Windows user could install Ubuntu for WSL very easily by following the instructions below


Once rebooted, from the Windows store, search for Ubuntu or OpenSUSE and just install it! That simple it is.
Once installed, as mentioned with the first image, one can start the WSL either from command prompt or by clicking the tile that is available with the start menu.
As a developer, I would take the pain to setup the WSL for ONLY few reasons like testing PHP application(s) those are based on MySQL database (and outta curiosity)
So next, let us see we can setup LAMP server (LAMP is an archetypal model of web service stacks, named as an acronym of the names of its original four open-source components: the Linux operating system, the Apache HTTP Server, the MySQL relational database management system (RDBMS), and the PHP programming language. The LAMP components are largely interchangeable and not limited to the original selection. As a solution stack, LAMP is suitable for building dynamic web sites and web applications) on our new WSL
You may refer to this post for a detailed information about how to install individual components like apache, MySQL and PHP. Please note, the link that I provided deals with PHP5, which is not anymore available from Ubuntu repositories, hence I chose to go ahead with PHP7.0 for my WSL instance
Issue the following command(s) to install Apache, MySQL,PHP and phpMyAdmin
[code language="text" gutter="false"]

sudo apt-get install apache2
sudo apt-get install mysql-server

[/code]
During the installation, you will be prompted for setting up MySQL root credentials, which is mandatory in order to access the MySQL server at later stages using phpmyadmin module
For PHP, you must install libapache2-mod-php, else you would experience php pages being blank when functions like phpinfo(); are called.
[code language="text" gutter="false"]

sudo apt-get install php libapache2-mod-php

[/code]
Once the packages are installed (without errors) you can restart apache to verify everything is working fine
[code language="text" gutter="false"]

sudo service apache2 restart or sudo /etc/init.d/apache2 restart

[/code]
If your windows box already has IIS listening to port 80 and a Windows instance for MySQL is listening to port 3306, then you must change the ports for both apache and MySQL before restarting the services.
MySQL installation will GET IN TO a number of undocumented errors if you have another instance of MySQL listening to 3306 (ie, on your Windows box). Hence make sure that you shutdown the instance before attempting to install MySQL on WLS. Please remember, WLS is not another virtual machine, so if a port is open on your “HOST”, that is definitely a conflict for the WLS.
For changing the port of Apache server edit the following file
[code language="text" gutter="false"]

/etc/apache2/ports.conf

[/code]
For changing the port of MySQL server edit the following file
[code language="text" gutter="false"]

/etc/mysql/mysql.conf.d/mysqld.cnf

[/code]
Although no real show stoppers, these couple or warning/error messages could make you feel irritated whenever apache and MySQL services are started
Apache:
[core:warn]
[pid 47:tid 140569079777152] (92)Protocol not available: AH00076: Failed to enable APR_TCP_DEFER_ACCEPT
Edit the file
[code language="text" gutter="false"]

/etc/apache2/apache2.conf

[/code]
add the following line by the end of the file
[code language="text" gutter="false"]

AcceptFilter http none

[/code]
Restart the apache service
MySQL
No directory, logging in with HOME=/
Edit the file
[code language="text" gutter="false"]

/etc/passwd

[/code]
and change the MySQL user details like following (“:/nonexistent” text with /var/lib/MySQL, do not change anything before those three commas)
[code language="text" gutter="false"]

mysql:x:112:117:MySQL Server,,,:/var/lib/mysql:/bin/false

[/code]
Restart all services to make sure that there are no more warning/error messages
So far so good, let us install phpmyadmin, which you will use to manage your MySQL instance
[code language="text" gutter="false"]

sudo apt-get install phpmyadmin php-mbstring php-gettext

[/code]
During the installation you will be prompted for selecting the http server stack and password for MySQL root account. You must provide the root password that you have set during the MySQL installation at this prompt
(Refer https://www.digitalocean.com/community/tutorials/how-to-install-and-secure-phpmyadmin-on-ubuntu-16-04 for more details)
Once the phpmyadmin is installed, you need to manually enable couple of extensions and they are dealt like following:
(I did a fresh WLS instance on 17th April 2019 & the phpmyadmin installation has changed a little bit here and there, asking for the webserver & an additional setup that helps to setup the phpmyadmin user passwords etc)
[code language="text" gutter="false"]

#sudo phpenmod mcrypt

#sudo phpenmod mbstring

[/code]
Restart all services
[code language="text" gutter="false"]

sudo service apache2 restart

sudo service MySQL restart

[/code]
Example:
[code language="text" gutter="false"]

rajesh@rt04:/etc/apache2$ sudo service apache2 restart
* Restarting Apache httpd web server apache2 [ OK ]
rajesh@rt04:/etc/apache2$ sudo service mysql restart
* Stopping MySQL database server mysqld [ OK ]
* Starting MySQL database server mysqld [ OK ]
rajesh@rt04:/etc/apache2$

[/code]
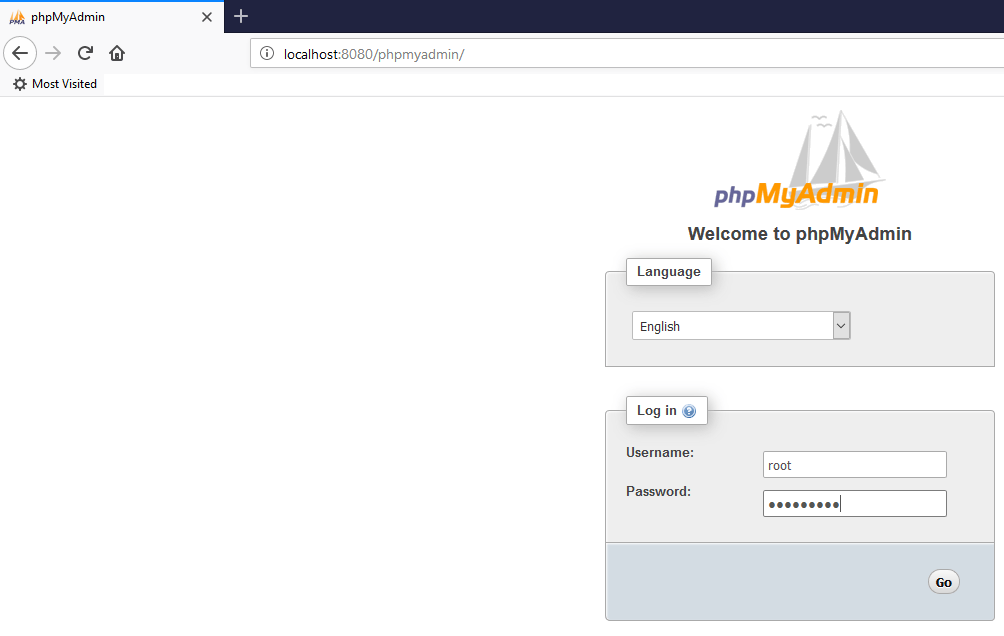
Now you can see that there are no errors or warning while starting both apache and MySQL. So let us go ahead and check phpmyadmin
That’s all folks!
There is no shutdown for WSL, just type “exit” and you are good. I am yet to test whether mere exiting does anything harmful to running instances of apache and MySQL. Until I find them…
Finally

I don’t really understand why, yet, many users are asking for a “way” to ssh into the Linux subsystem. The pre-installed openBDS ssh server doesn’t allow a connection from clients like putty. Hence a re-installation of SSH server is required.
[code language="text" gutter="false"]

sudo apt-get remove --purge openssh-server
sudo apt-get install openssh-server
sudo service ssh --full-restart

Create a firewall inbound rule if required

[/code]
Now you should able to connect to WSL instance using a client like putty.
regards,
rajesh