
This time let us see how to install Oracle database 19c on Windows 10. This installation is not much different from Oracle 18c installation.
You can download the 19c Installation media for Windows from the below link.
Database Software Downloads | Oracle
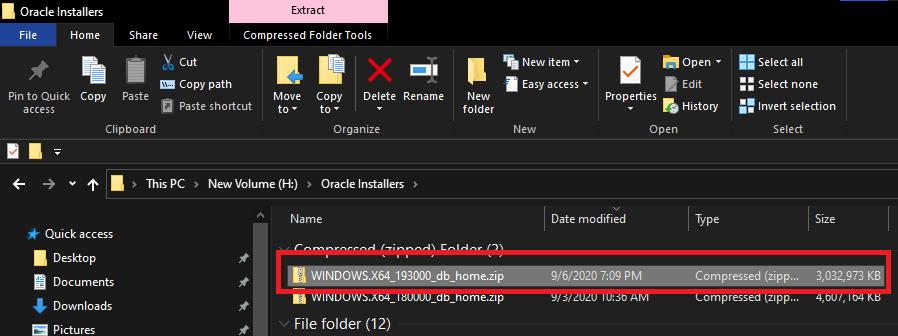
Once downloaded, you have to extract the package to a folder. Please note, the extracted folder or the folder from which you will execute “Setup.exe” is going to be 19c Oracle Home. So, name the folder wisely. For example, I have extracted the files to a folder D:\Oracle\19c
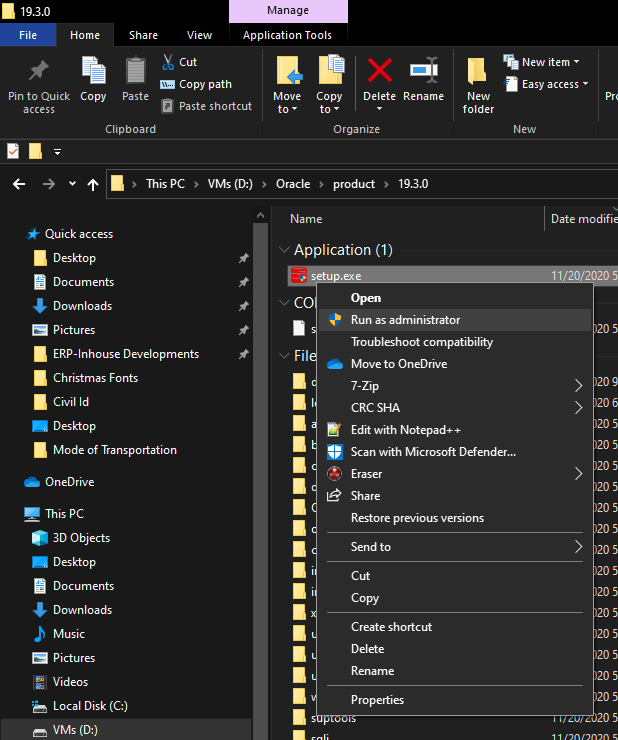
You can start the installation by right clicking the Setup.exe and running as “Administrator”.
This will kick start the installation.

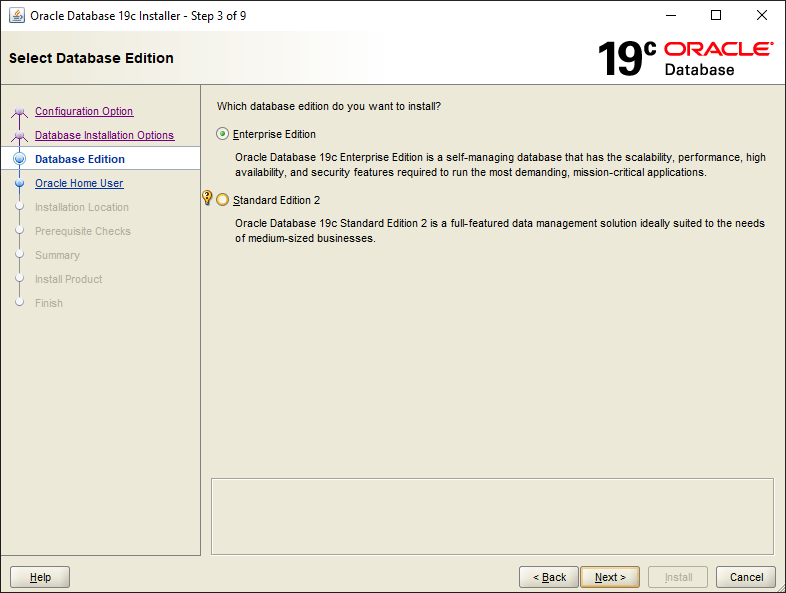
We will not create a database along with the software installation. Hence select “Set Up Software Only”


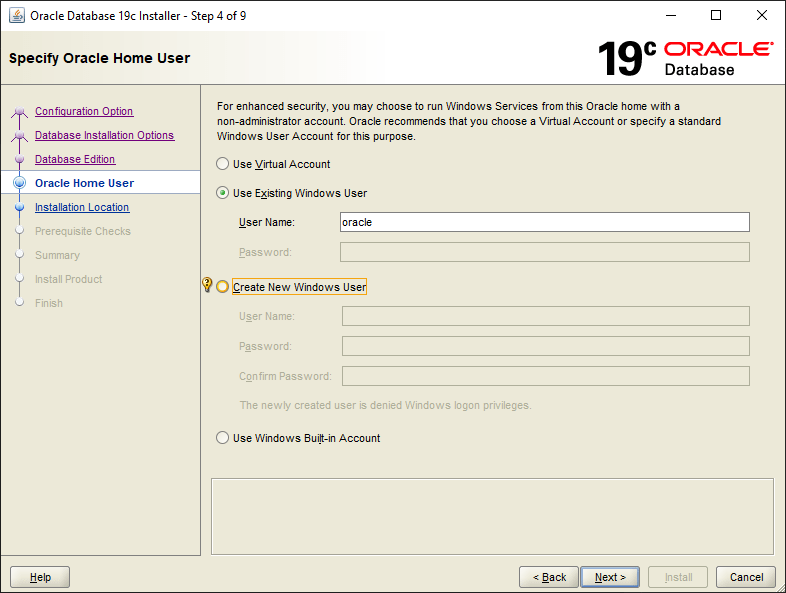
I suggest you to create a normal user (no administrator privileges) “oracle”, that will be used for all your future Oracle software installations. If you don’t have an account explicitly created yet for Oracle, the installation gives you an interface to create one. It’s your choice.
Please remember, earlier I said, the folder where you have extracted the installation media is going to be Oracle 19c home, aka Oracle Home. Rename the folder with an appropriate name before going ahead with the installation.
You will be asked to provide a location for Oracle Base. To content within the Oracle Home, you can specify a path like “D:\Oracle\19c\database” or “D:\Oracle\19c\db” or a folder name of your choice.

After few basic checks, the installation will proceed now. I strongly suggest you to assign a STATIC IP for your computer, prior continuing.


That’s it. No hacks, no modifications to config files or anything such to get the software installed on Windows!.
You can use “Database Configuration Assistant” for creating new database. We will see how to create a new database now. This time we will be creating a CDB (Container Database) and one PDB (Pluggable Database). You may go ahead with creating a single instance database when asked to choose between.


Select “Advanced Configuration”


You can choose between a normal database or Container database with PDB at next step. If you don’t wish to create the database as a container, uncheck the option “Create as Container database”. If you chose to continue with creating your database as container, I suggest you to leave the defaults as it is, other than the PDB name. If you need more PDBs, may add later to the container.

Leave the defaults, unless you know what you are doing.

If you are setting up the database for the LAB/Learning purposes, you may ignore these. However, for production instances, you must configure the Recovery area & setup archiving.

You can create a LISTENER for your database now. If you other Oracle database LISTENERs already running, choose a port number that wouldn’t raise a conflict.

Optionally you can setup Database Vault & Label Security at this step ;)

Okay, we need your attention here. Oracle automatically allocates 40% of total available physical memory for the newly created database. As I mentioned in the previous step, if you have more than one database running from the same computer, you must adjust the available memory to avoid choking the resources.

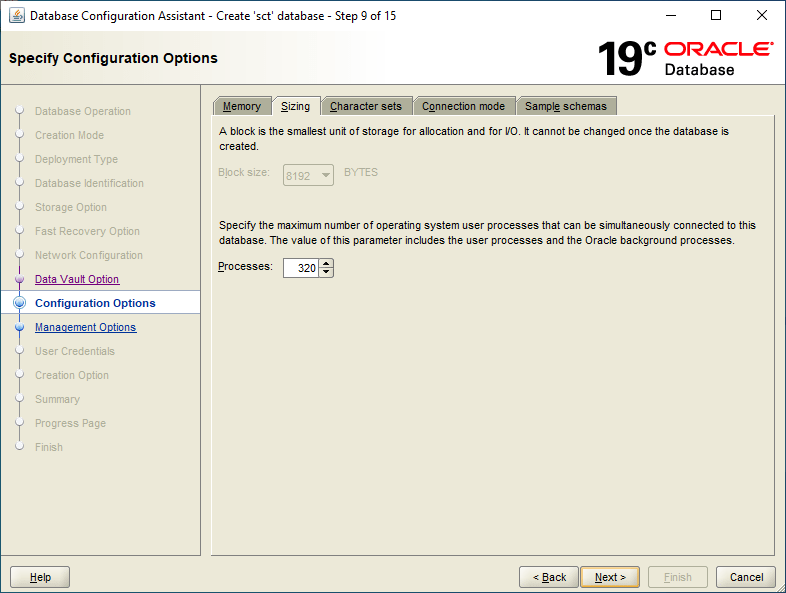
You may leave the defaults untouched here & you can change this value as sys admin when needed.
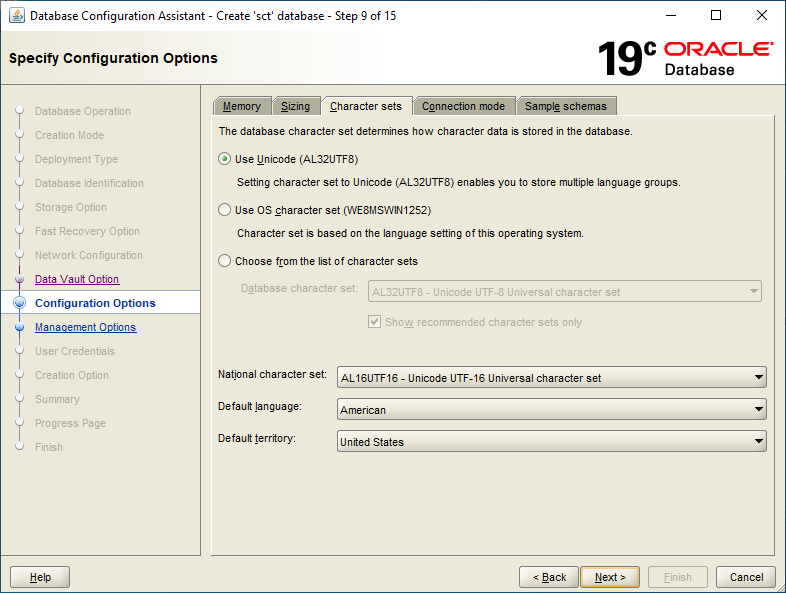
WebLogic Repos insist upon “AL32UTF8” Character Set & unless you have specific reasons to change the Character set, leave the defaults. If you are planning to migrate a legacy application that uses a different character set like Arabic (AR8MSWIN1256), please read this post
As per the post, you can use a different character set for a PDB starting from Oracle database versions 12.2.
We do love Scott bit too much, if yes, go with sample schemas (Trust me, you need it)

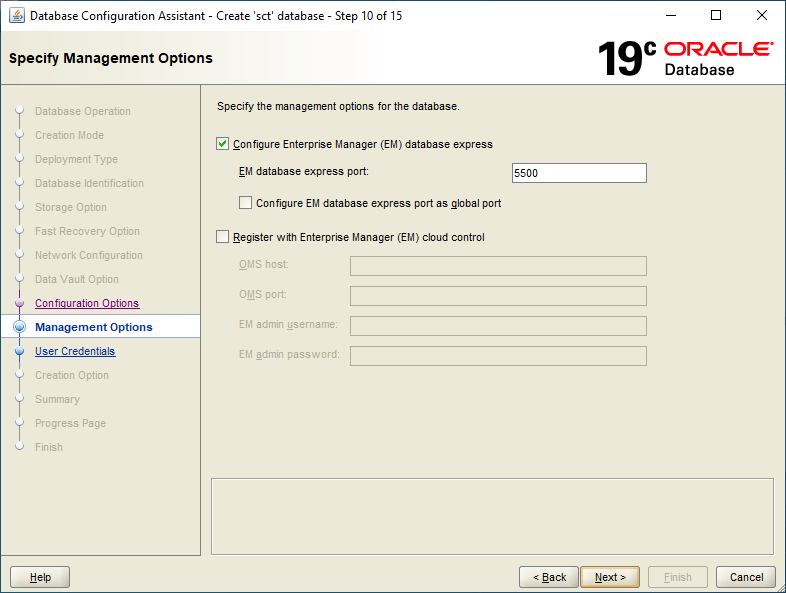
Enterprise Manager configuration is totally optional. If you choose to, will install an Express edition of Oracle Enterprise Manager (means more resources)
As usual, for a LAB environment I will go with same password for all accounts.


I would suggest you to accept the defaults at next step & change the passwords and unlock accounts as and when needed.

That should complete the installation and creation of database for 19c. Have comments? Please post them to me.
okay i am done installing it. but now, how and from where do I access oracle database?
Hello Saniya
The topic that you read ONLY explains how to install the Oracle software, nothing about creating databases. So before answering your questions properly, I should know whether you have created a database yet.